Shiny HSTs Chevrons and an HST Tutorial
I may have used affiliate links for some of the items in this post. Using an affiliate link to purchase an item won't cost you any more money, but I may receive payment if you click on a link and make a purchase. For more information, visit the disclosures page.
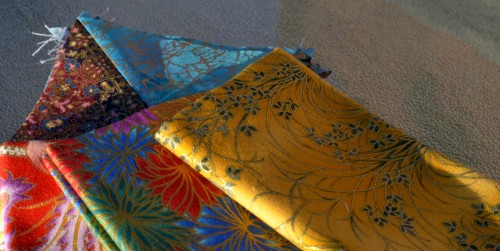
Thanks to my attempt to avoid finishing the (not) Purdue quilt top last week, I got myself started on another – much smaller – project, using my fabrics with gold metallic ink. For this project, I’m planning to use several fat quarters of fabric, along with a couple larger pieces of fabric I had in my stash.
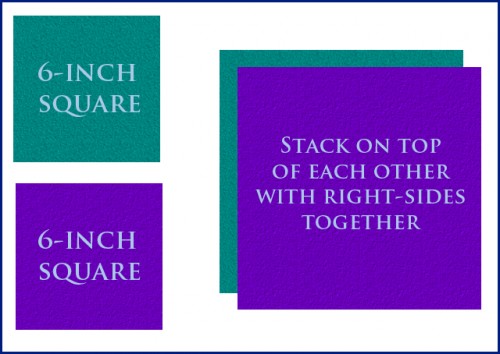
I’m cutting my fat quarters into 6-inch strips, and cutting those strips into squares. That means I get 9 squares from each fat quarter. I’m matching each of my squares with one from the larger pieces of blue fabric, and using an HST technique which allows me to get 4 HSTs from each pair of squares.
I start with my 2 squares of fabric and place them on top of each other, with right sides facing.
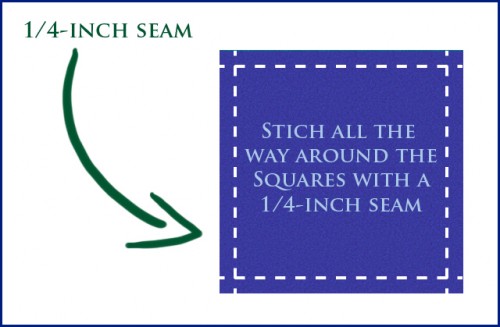
I then sew a 1/4-inch seam all the way around the square. I generally do multiple squares at a time using the chain stitching method.
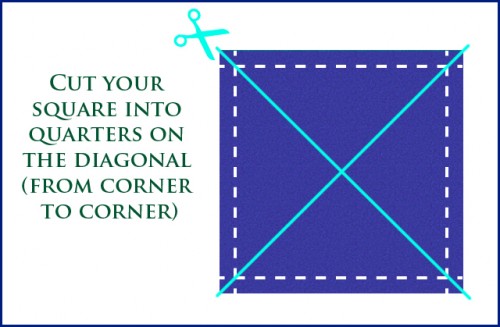
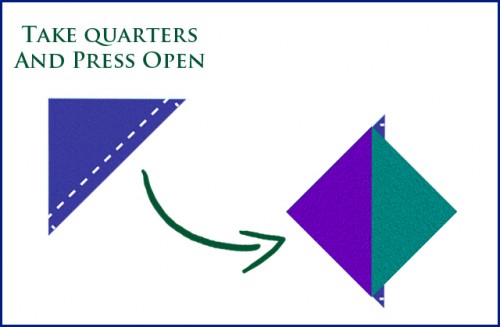
One I have all of my squares stitched up, I take them over to my cutting mat and – using a ruler and my rotary cutter – I cut each square into quarters on the diagonal.
The final step is to press all of my squares open. I always press my seams toward the darker (or thicker) fabric. You can then cut off the little triangular bits of fabric at the corners or leave them. I find it easier to match corners when they have been removed.
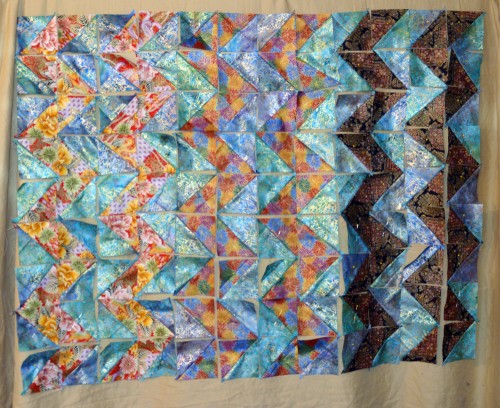
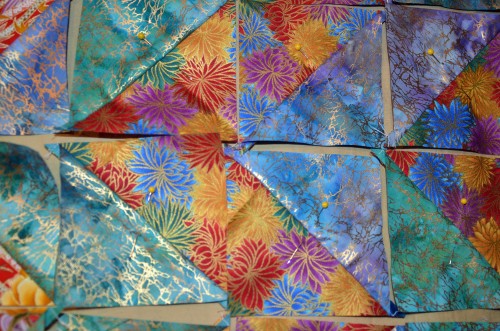
I’ve already pieced blocks from three fat quarters and have pinned them onto the sheet. I like the overall look of the chevrons, but I may adjust the order of the colors still. The finished quilt will probably be pretty small (crib or lap sized) because I don’t have a lot of my background fabric.
I’m also looking for a cotton with an entire all over metallic print. Let me know if you have seen one. I’m wanting to use it as a border.
Linky Parties we're participating in:
Mop It Up Mondays at I Should Be Mopping the Floor
Craft & Tell at Cherished Bliss

Great tutorial and a fun way to make a lot for sure and for lagerr HSTs this is really nice. But I agree with Sunni….I recently discovered Eleanor Burns’ method which will make 8 at a time from 2 squares, and you get NO bias edges. For smaller piecing, definitely check out EB’s.
I use this technique as well, but it doesn’t work well with the size of my initial fabric squares for this project, because then the finished HSTs are much smaller than I want for the project.
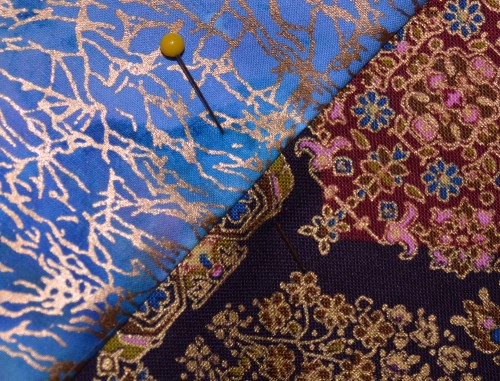
Hey! I have some of that fabric (the last picture, right side). I think it cam with some remnants I picked up from Fabric.com. I think I have it sorted with some other gold-overprinted fabrics. I still don’t know what I’m going to make with it.
I’ve made terms with the HST block. I’m not a fan of the bias edges of that particular method, though.
Keep going!
What method do you use for HST blocks? I use this method, and also the method to make 2 from one set of squares.