Precise Patterns
I may have used affiliate links for some of the items in this post. Using an affiliate link to purchase an item won't cost you any more money, but I may receive payment if you click on a link and make a purchase. For more information, visit the disclosures page.
I am fortunate enough to have fairly good luck finding clothes that fit me at the store, though I often take them in to my favorite seamstress for a few adjustments. What my closet lacks, though, are those statement pieces that say something about who I am as a person. For that reason, I’d love to be able to make my own clothes. So, I’m working my way through The Colette Sewing Handbook to help me learn to do just that.
In the first two chapters of the book, I learned some sewing basics, and how to thoughtfully plan out the clothes that I want to make. The third chapter of the book, A Precise Pattern, is all about the ins and outs of patterns.
The Basics
Pattern Marks
I was so excited about the page on pattern marks. I remember many 4H clothing projects with patterns full of arrows and dots – and never having a clue what they meant. So, thank you so much for the info. I’m sure I’ll be referencing this part of the book for any sewing project I make ever again.

I also found a great reference image online from Sew Craftful. It is more complicated to follow, than The Colette Sewing Handbook, but I still feel like it’s a useful reference.
Preparing Fabric
I learned that I should always prewash fabric for clothing. This is super important for me, because well… I never prewash my fabric. I’ve always made quilts, so it’s never occurred to me that I would want to wash my fabric to keep my clothes from shrinking after I make them. That is a super important “ah ha moment” for me. Especially since since fabric can be quite expensive. I also learned some simple ways to straighten up my fabric if the fabric grains aren’t lined up quite right.
Laying Out a Pattern
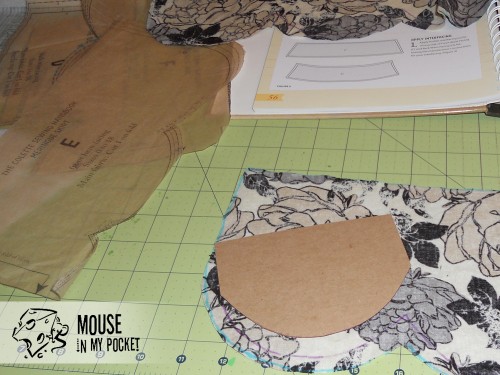
All of the patterns I’ve used recently, I’ve either printed on my own printer, like I did with the Colette Mini Bloomers, or have come with the pattern printed on fairly sturdy paper, like the Amy Butler Weekender Bag. However, lots of patterns come printed on inexpensive tissue paper, which can be difficult to reuse, so I was excited to learn some techniques for copying the templates out to other materials, to make the cutting process much easier, and increase the longevity of my patterns.
I also know how to properly lay my patterns out on the fabric, even when using a directional pattern. And I know about pattern weights. This is much more awesome than using pins to lay out my pattern. Why? Because I really hate pins. Oh yeah, and too many pins can distort the shape of the fabric you are cutting.
This section also gives some great tips on lining up patterns pieces on striped and plaid patterns. Though, I don’t think I’m ready to try that just yet.
Transferring Pattern Marks
I’ve been using fabric markers to help me mark patterns shapes out for cutting, but I wasn’t aware of all the different kinds of marking tools, available to me. Or of how to properly copy some of the marks that appears on patterns. I’ve also discovered that I most definitely need at chalk liner. I’ll be looking for one on my next trip to the big box fabric store.
Cutting the Fabric
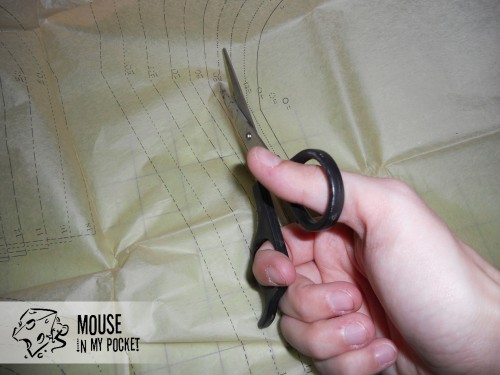
On top of that magic chalk liner pen that I need, I also need a small rotary cutter. My 45mm rotary cutter is a staple for cutting out quilt pieces, but I like the idea of using a smaller one to easily work my way around patterns with curves.
I also learned about stabilizing fabrics, like silk. Something I wish I had known before making my Colette Mini Bloomers.


I found my way here through Pinterest. Your pattern marking diagram is quite clear and informative. I made my comments in the Pinterest Post.
Regarding extending the life of tissue patterns (especially for frequent re-use)…You can use butcher paper (the kind for wrapping around food prior to freezing), which has one plastic side. Cut the tissue pattern pieces apart only, not right on the cutting line, but well outside of it. Press the tissue paper with an iron to remove creases, folds and wrinkles. Place the tissue to fit on the plastic side of the butcher paper on an ironing board and carefully, without steam and without using the iron past the tissue paper edges/cut line, use the heat of the iron (cotton setting) and the melt point of the plastic to adhere the butcher paper to the tissue. NOTE: The reason why you need tissue extending past the cut line, is so that you do not get melted plastic on your iron! If your tissue pattern is larger than the width of the roll of butcher paper, simply adhere a second piece of paper to the tissue making sure that you “underlap” the second piece of butcher paper under the edge of the first. Use up smaller scraps of butcher paper for these areas. Cut out pattern normally. Turn the piece over and give a good press to the butcher paper side, paying attention to any areas where there are two layers of butcher paper.
If you work in a company or industry where you frequently need to “feed” the photocopier (eg. schools), many companies that provide the reams of paper, wrap them in paper that has one plastic side…found often around letter and legal size (Avoid using the area where the glue seals the package). The 11” by 14” paper wrappers do not seem to have that layer of plastic?!?! These wrappers are great for small pattern pieces and any tissue corners that hang off the edge of the butcher wrap. A second additional layer of butcher or copy paper, will stiffen a pattern piece sufficiently, that you can just chalk around it. Some textiles, heavy denim, leather, etc will dull rotary cutters as soon as you show them to the textile, so it is necessary to chalk around patterns and then cut with scissors designed for the job. The Fiskars Amplify 8″ Heavy Duty Craft Shears are a favourite of mine for things like heavy canvas and leather.