
Half Moon Colorist Quilt
I may have used affiliate links for some of the items in this post. Using an affiliate link to purchase an item won't cost you any more money, but I may receive payment if you click on a link and make a purchase. For more information, visit the disclosures page.
I decided a while ago that I wanted to tackle a quilt with curves, but hadn’t been brave enough to do it. I’m pretty decent a sewing a straight line by now, but how on earth you get curves to work still seemed a little beyond me. Then I started sewing a few clothes. I was sewing plenty of curves. I thought I’d finally give it a try.
So I made myself The Colorist quilt by Lizzy House in the baby peep size, using Half Moon Modern charm packs and Kona Charcoal for background fabric. I chose the baby size because it meant that I could use 2 charm packs, instead of buying a layer cake or sweet 16th bundle. That saved me at least $20 in fabric, and the charm packs gave me enough left over fabric to do some detailing on the back of the quilt.

With the packs I chose, I was also able to not use any of the grey fabric, meaning that I didn’t have to match the grey in the design, and I now have a nice little collection of grey charm squares for another project.
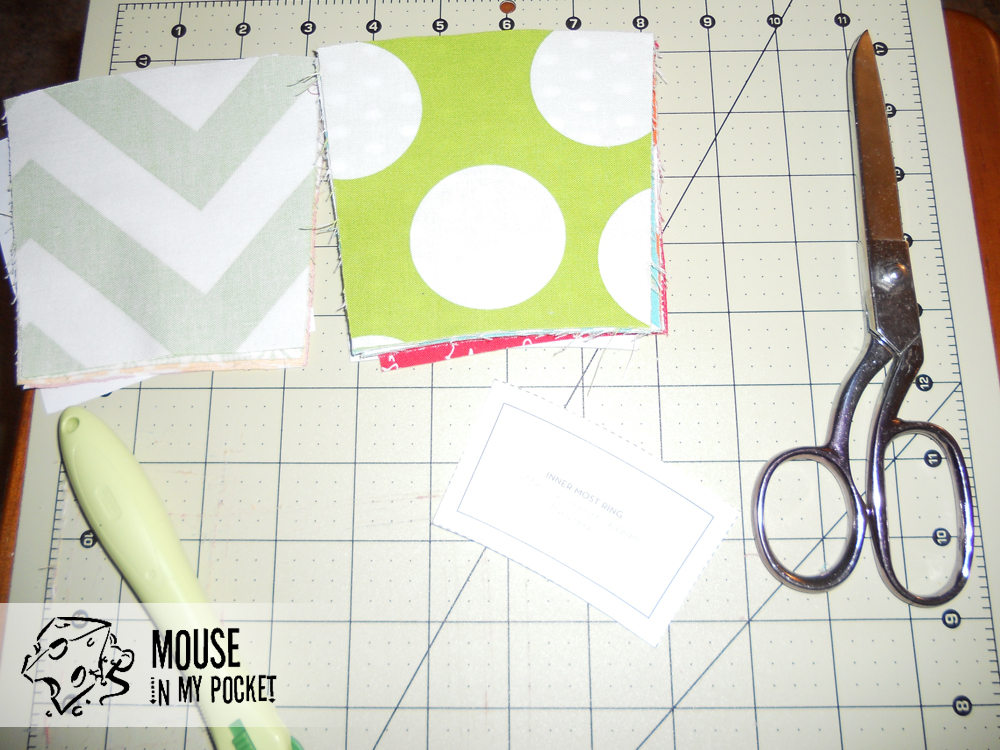
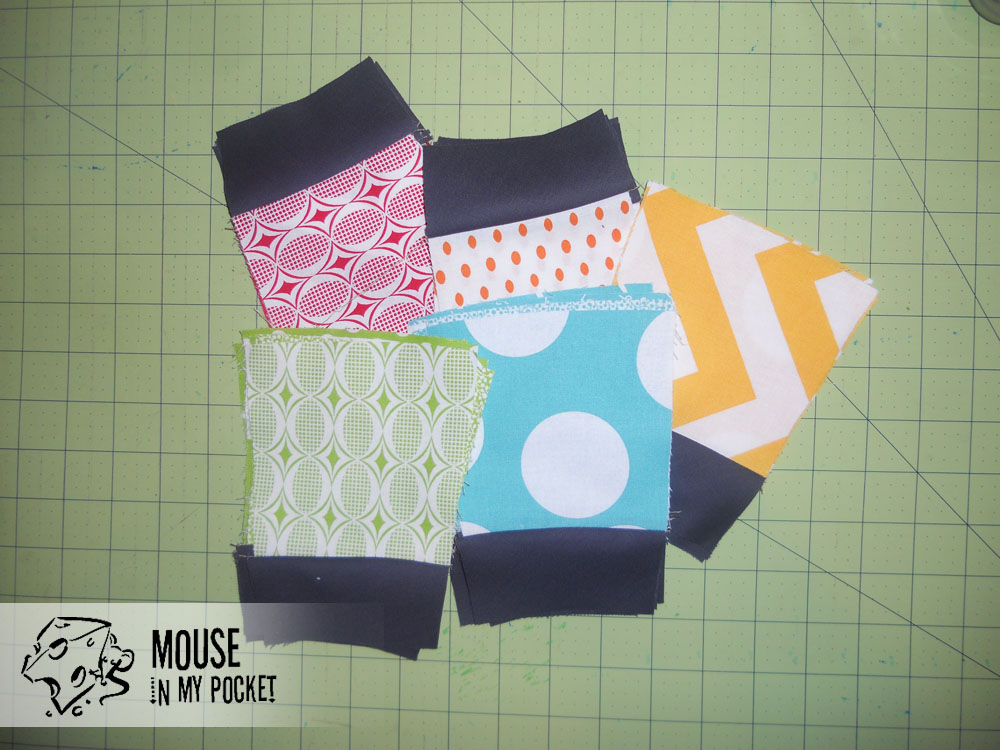
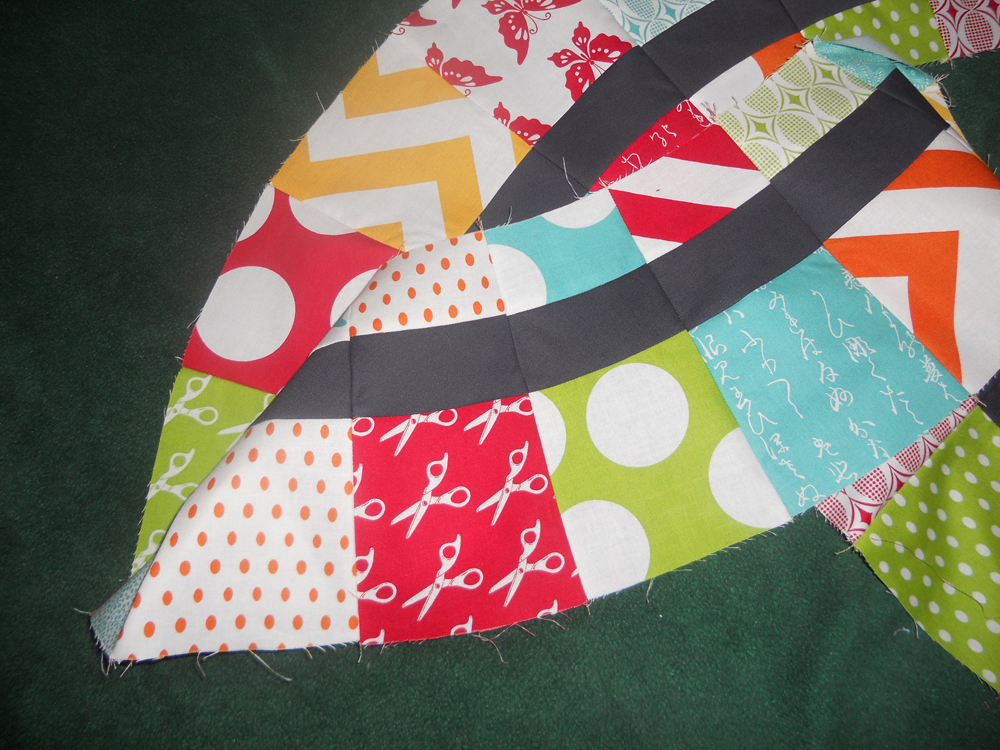
The project started with me cutting out all of the pieces I needed from the charm packs. I cut the outer ring pieces first, which were almost the same size at the charm pack pieces.
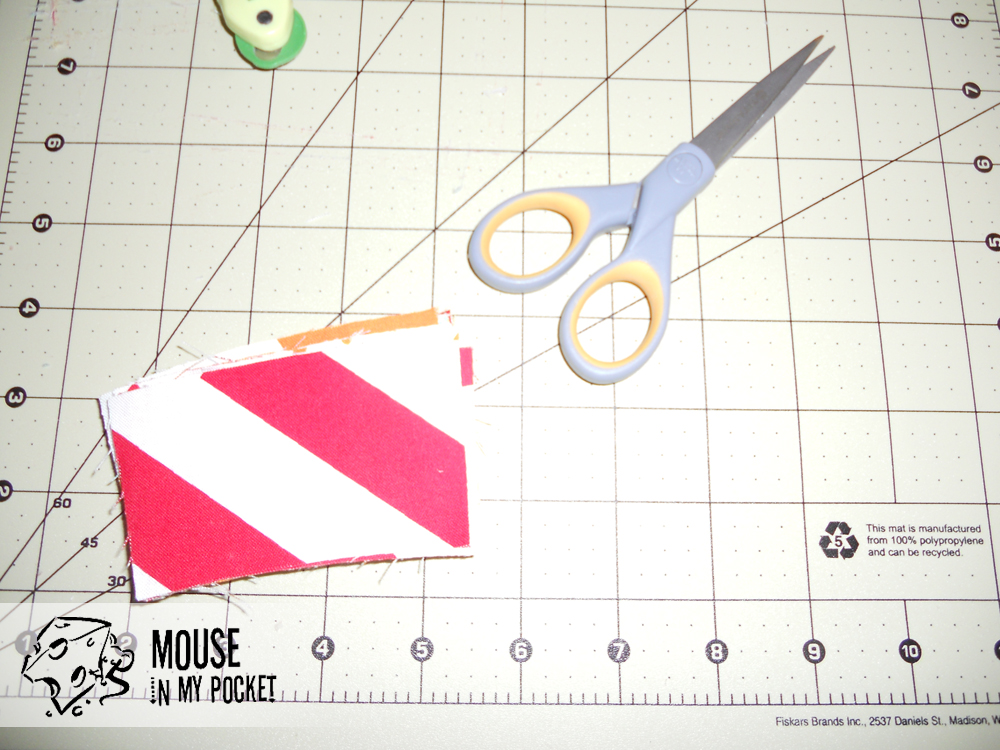
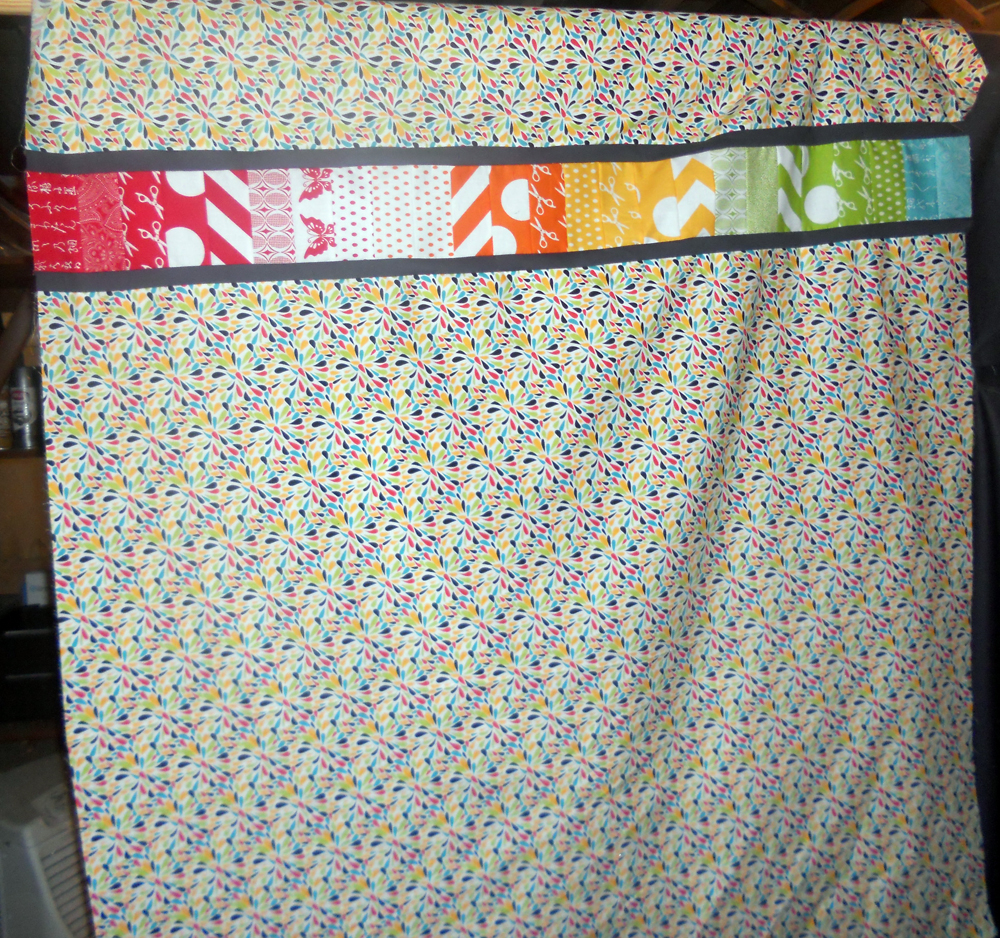
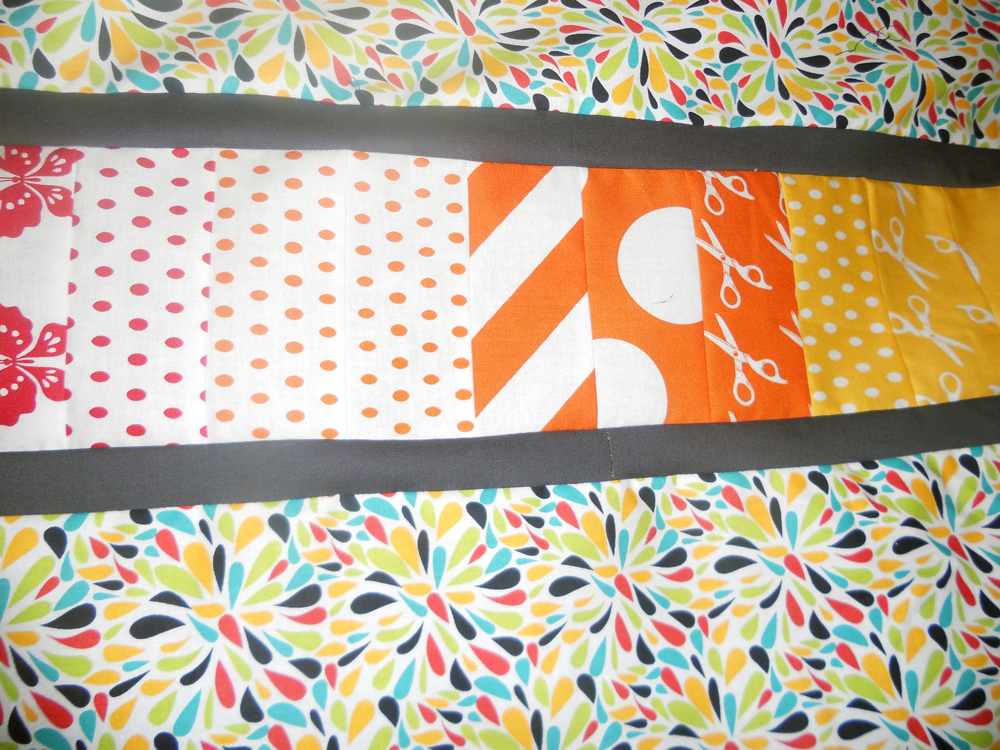
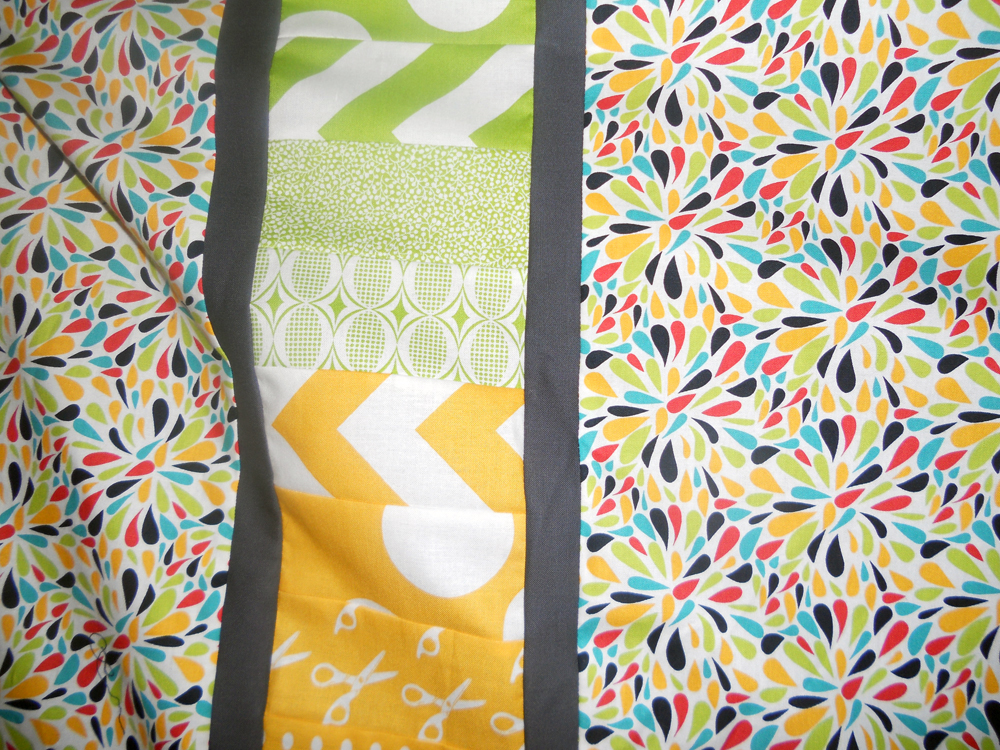
The next thing was to use my second charm pack to cut out the pieces for the inner ring. The inner ring pieces were much smaller, so I trimmed up my pieces to 2.5″x5″ and made a strip to inset on the back of the quilt.

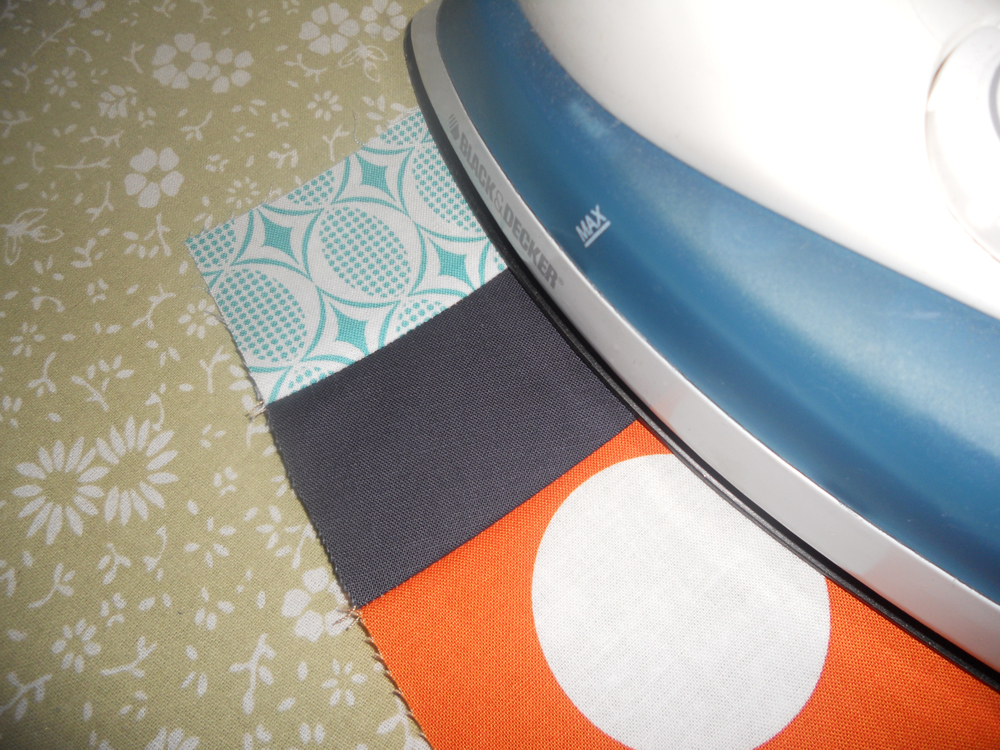
I actually completed the back of the quilt a full week before I even started piecing the ring on the front of the quilt. I used the strip of fabric I’d made, adding a thin border of the Kona Charcoal left over from the front, and set in 2 widths of Slicker by Robin Zingone for Robert Kaufman.
Once I finally got started on the piecing for the front, everything went together pretty quickly. I spent an hour or two one evening cutting out the background fabric for the front and sewing the solid ring pieces to the outer ring pieces.
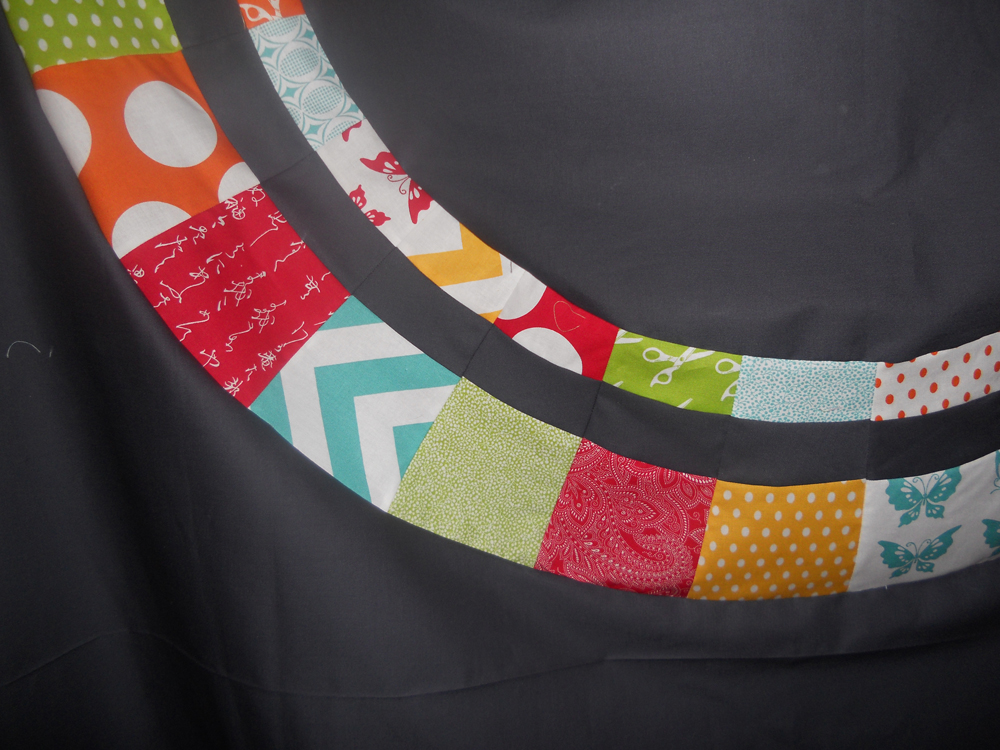
Once that was done, I had to lay out my ring, so I could decide how I wanted my ring to look. Originally I wanted to do them in color order, as I had done the back, but my plans from white to bright wouldn’t work. I was short one colorway to do it.

Instead, I decided to mix everything up, sort of reflecting the swirly design of the fabric I chose for the back. I laid it all out on a minky blanket, which kept my pieces from going everywhere when Mouse wanted to play with them. With my ring order decided, simple placed the fabric for the inner ring exactly opposite of it’s mate in the circle.
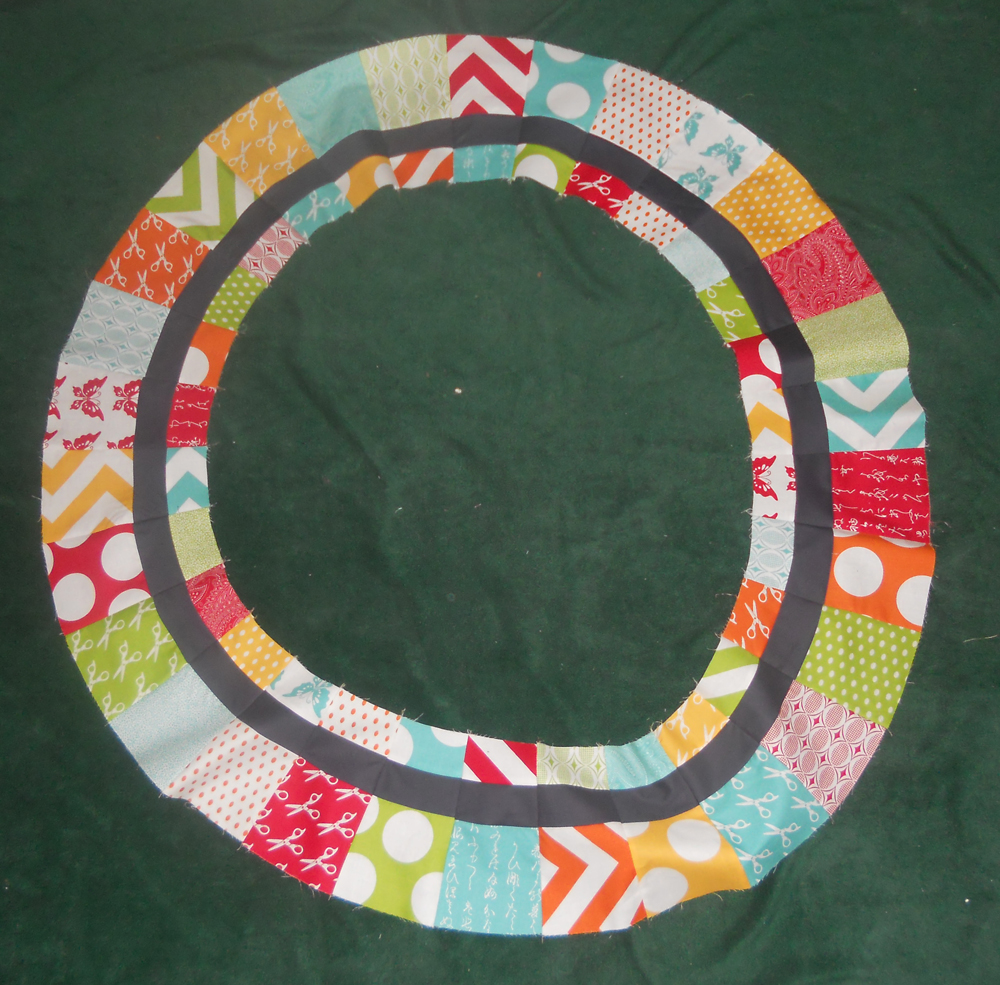
Everything got sewn together, and then sewn to the big center circle. That circle ended up making me pretty mad. I followed my pattern pieces exactly, but the center circle was too small – but exactly one section of the circle. At least that was a fairly easy fix. I simply removed the last section of the circle, redid that seam and finished attaching everything.
The outer circle was a little more of a bear. I ended up taking about 8 inches out of my circle (which was too big – thanks stupid pattern piece) by simply folding over at the seams. I hope my quilter doesn’t mind just quilting them down. I would be much easier on me.
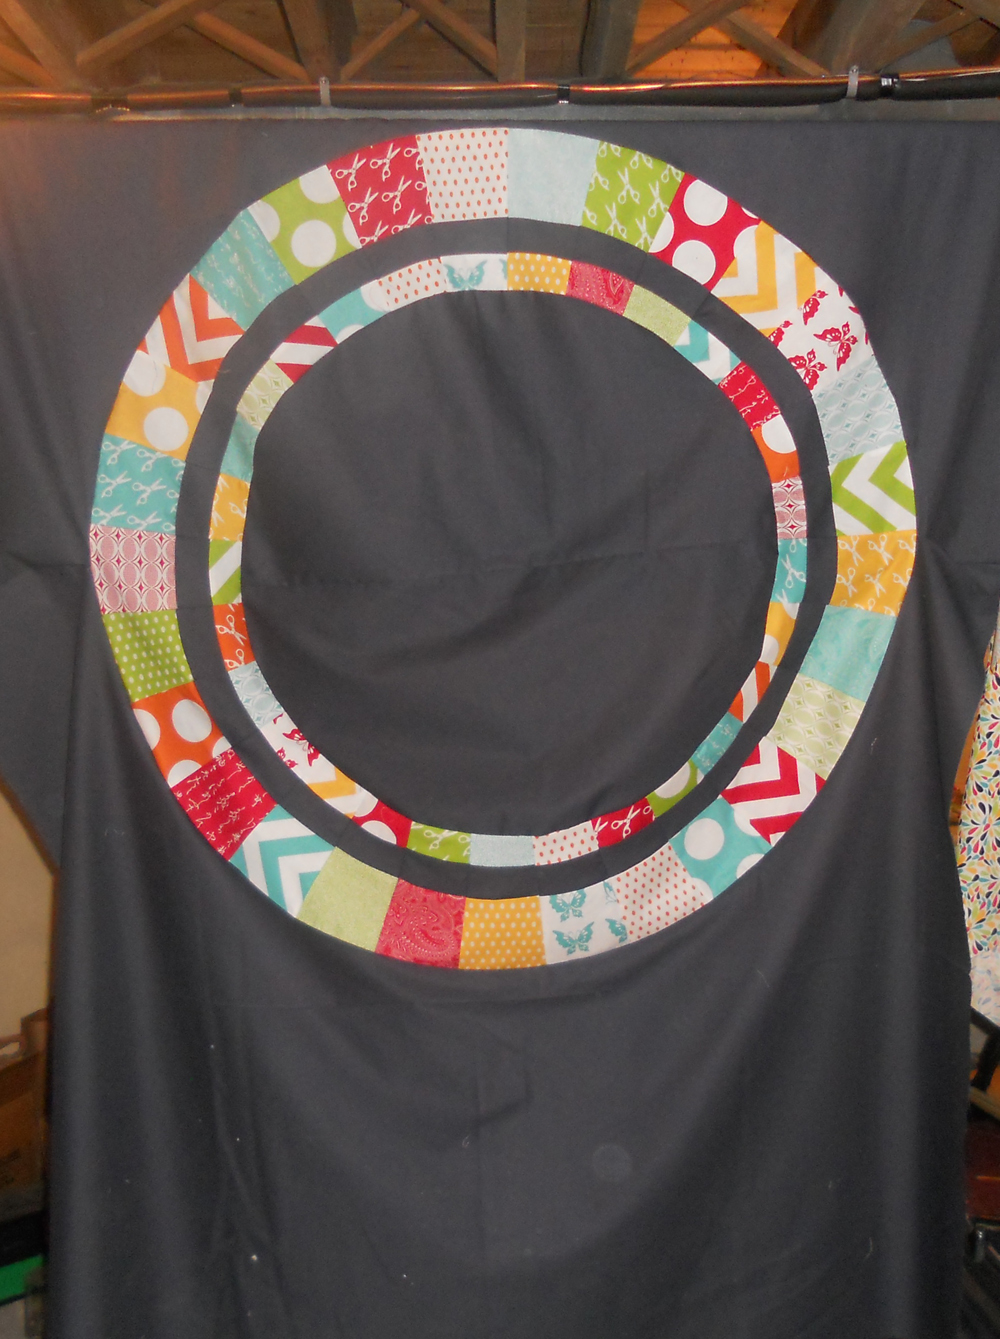
Even with all of the stupid issues I had due to the pattern template being wonky, I think the quilt came out pretty darn good.
I would make another one, but I would really like to see the pattern designer reissue the pattern with corrections, as I heard there are also issues with the pattern pieces for the large size quilt. Have you made the colorist quilt? Did you have any issues?
That really turned out great! Very unique and colorful. I love it!
Thanks so much! Have you tried any quilting/sewing yet?
I really love the way the fabrics work together. So pretty! And as a non-quilter, I am fascinated by the process. 🙂
I’ve seen your work. You could totally do a quilt.