
Multi-Triangle Tutorial
I may have used affiliate links for some of the items in this post. Using an affiliate link to purchase an item won't cost you any more money, but I may receive payment if you click on a link and make a purchase. For more information, visit the disclosures page.
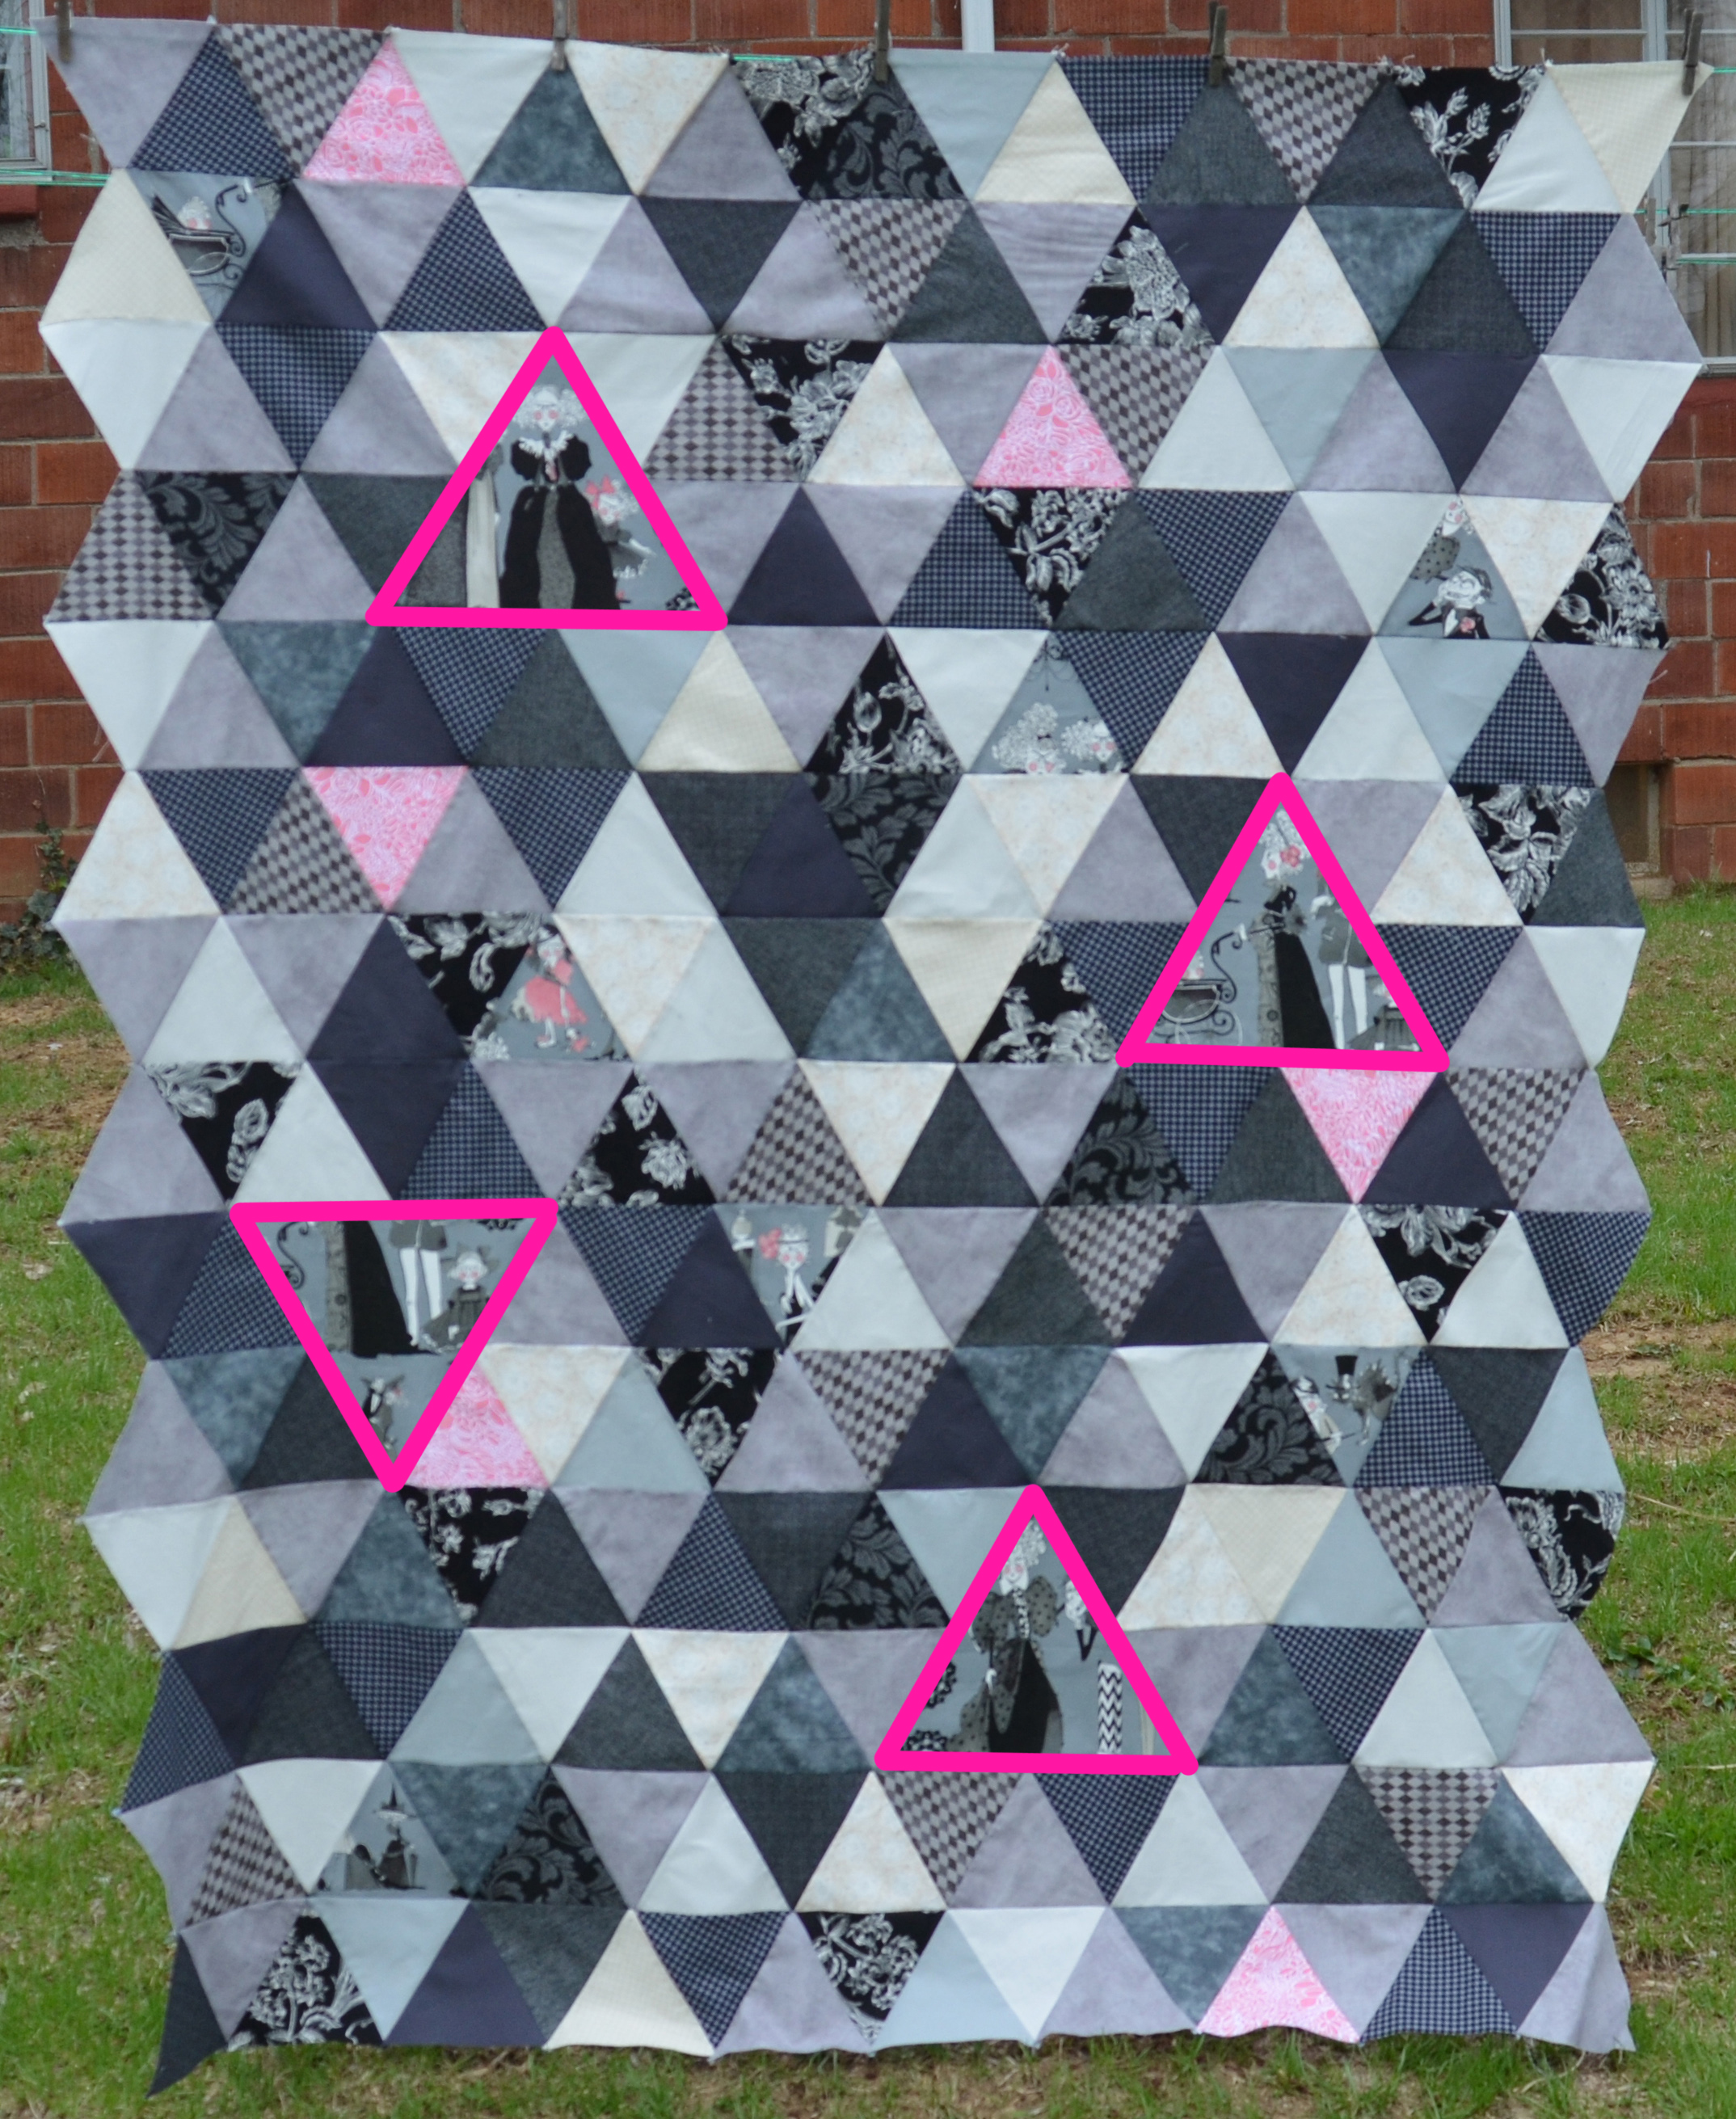
Over the last few weeks, I’ve had several questions about how I made the larger triangles in my Triangle Quilt Along quilt. Since this is our week off for the quilt along, I thought it would be a great time to explain how I determined the size for my larger triangles. To help you visualize what I’m talking about, I’ve taken a photo of my quilt top and highlighted the large triangles.
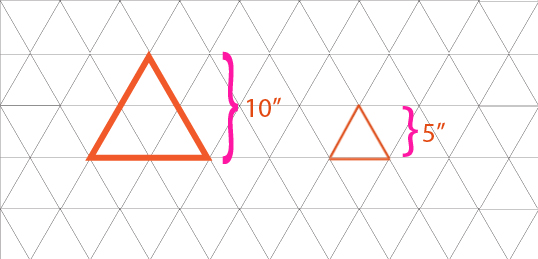
The process of making these larger triangles is really simple. If you have a triangle template, you are either cutting a triangle twice the height, or twice the edge length (depending on how your template is designed) of your smaller triangle. By making it twice the size, it will actually take the place of 4 of your smaller triangles in your design.
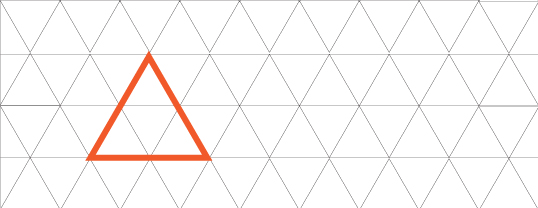
Triangles by edge length –
For some simple math, let’s say that we have triangles with a 6″ finished edge, that means that they will have a 6.5″ uncut triangle, and a triangle twice that size will have a 12.5″ unfinished edge.
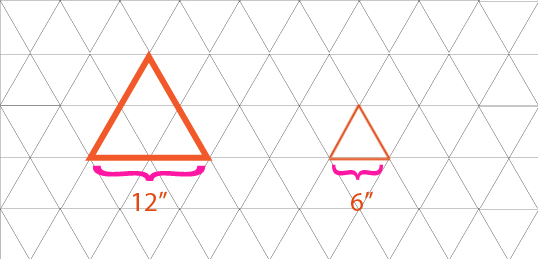
Triangles by height –
Again with the simple math, let’s say your triangle finishes at 5″ tall, that means that you cut them at 5.5″ tall and triangles twice that size would be cut from 10.5″ strips.
If you don’t have a template –
For my project, I was fussy cutting triangles, and I did not have a triangle template, so I based my math on the length of the edge. I went with 12.5″ (which was a little larger than I needed, but I determined it would be easier to trim down, than not have enough.
Since I was fussy cutting without a template, I cut out 12.5″ squares and used the 60 degree angle on my ruler to get my large triangles. I wasted quite a bit of fabric doing it that way, but I also got the cuts I wanted without needing the template. I did however decide to purchase one for future projects.
Expanding the concept –
This same concept works to make triangles that are 3 or more times the size of your smallest triangle, just multiply the finished size of your original triangle and add your .5″ seam allowance.
Hi!!!! I love your triangle quilt!!!! Thanks for the tutorial!!!!
You are very welcome. I hope it helps everyone who has been asking me how I did it.
thanks for sharing Andrea! I really love how you’ve done your quilt. Looking forward to the finishes in a couple of weeks.
A couple weeks?! But mine is done now…. It’s killing me not to be able to share my quilt. 😉