Canning Squash
I may have used affiliate links for some of the items in this post. Using an affiliate link to purchase an item won't cost you any more money, but I may receive payment if you click on a link and make a purchase. For more information, visit the disclosures page.
The gentleman giving the tour at Frey’s was nice enough to give us some produce. Most of us took watermelons, but since Matt doesn’t eat them, I stole Marybeth’s idea and took squash. I ended up with 5 butternut squash and as many acorn squash. I haven’t done anything with the acorn squash yet, but I canned the butternut squash yesterday.
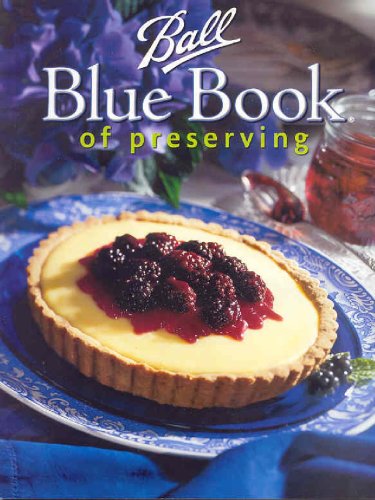
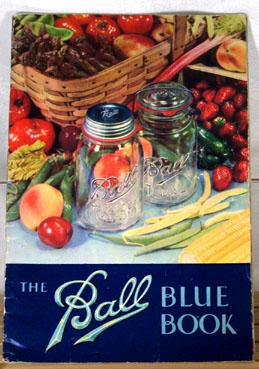
If you plan on canning, make sure you own a Blue Book. They are the most important and accurate reference I have found.
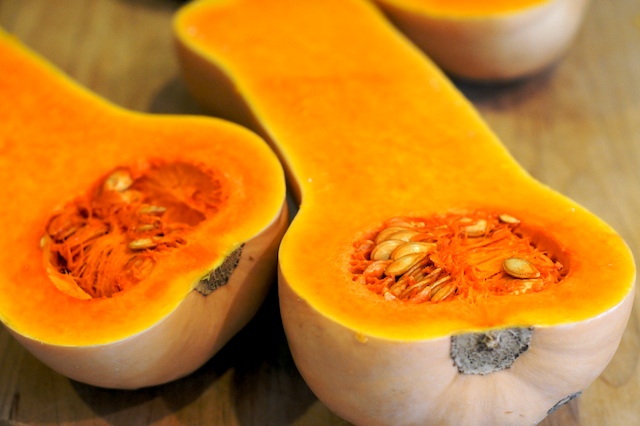
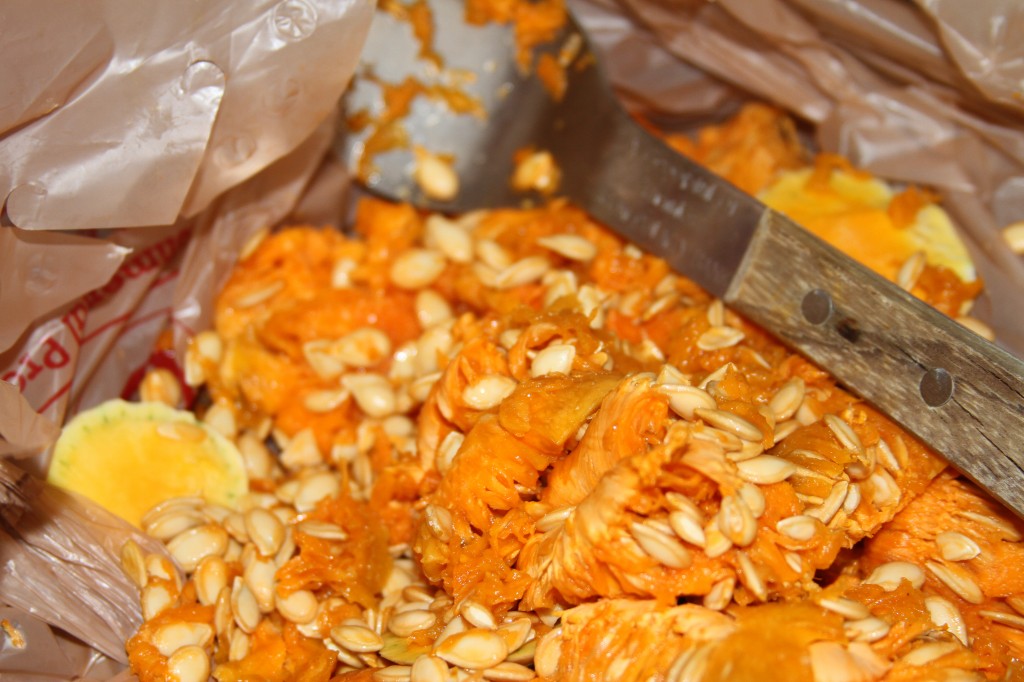
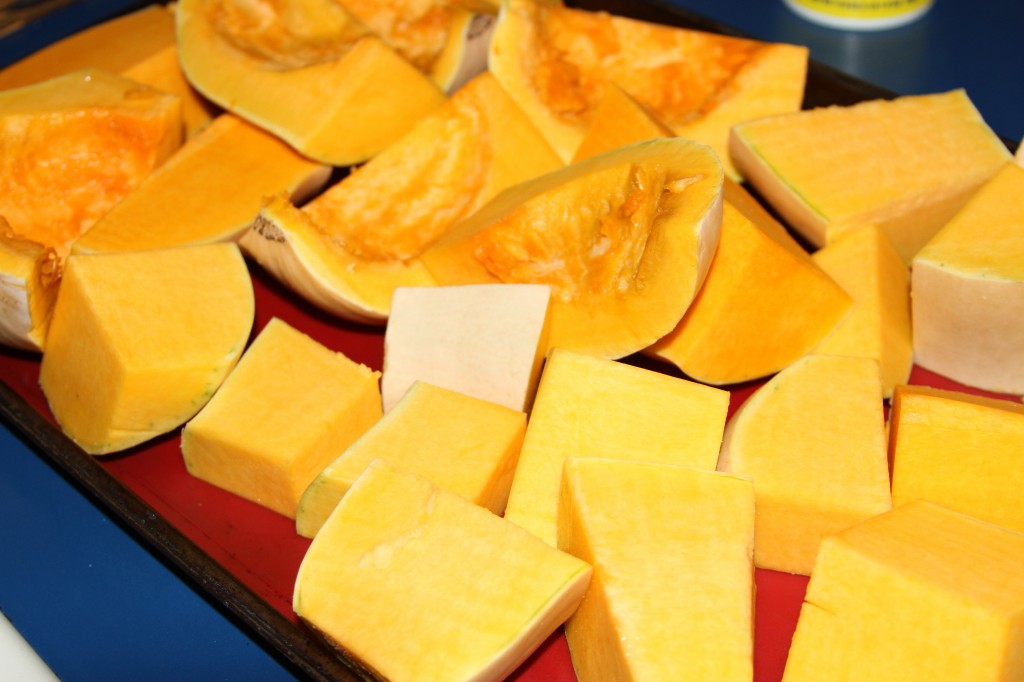
It was quite a long process, but it was much better than it could have been. First, I had to cut the squash into chunks and scoop out the seeds. Yummy!
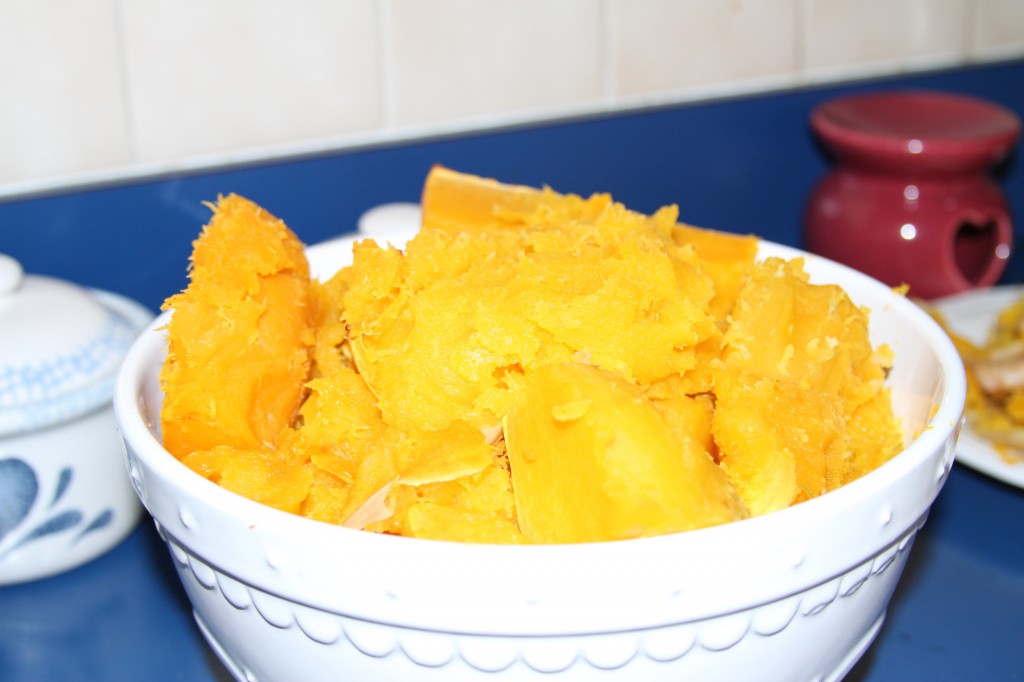
The next step is to bake the squash in the oven until it’s tender. They will come out about the color and consistency of sweet potatoes. They even smelled like them.
After they come out of the oven, you scoop out the “meat” and leave the rind. Once you are finished with this, you will have a big bowl of squash ready for the canning process.
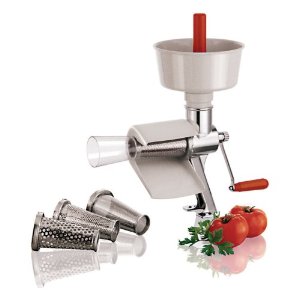
The canning process involves a food mill, but since I didn’t have one, I used a juicer (like I would use for tomato juice). Since I did it this way, I had to run the squash through through twice. The first time, I ran the squash through using the tomato screen. The second time through, I used the berry screen. These screens seperate the squash and mash it up. It will end up with the consistency and feel of mashed potatoes.
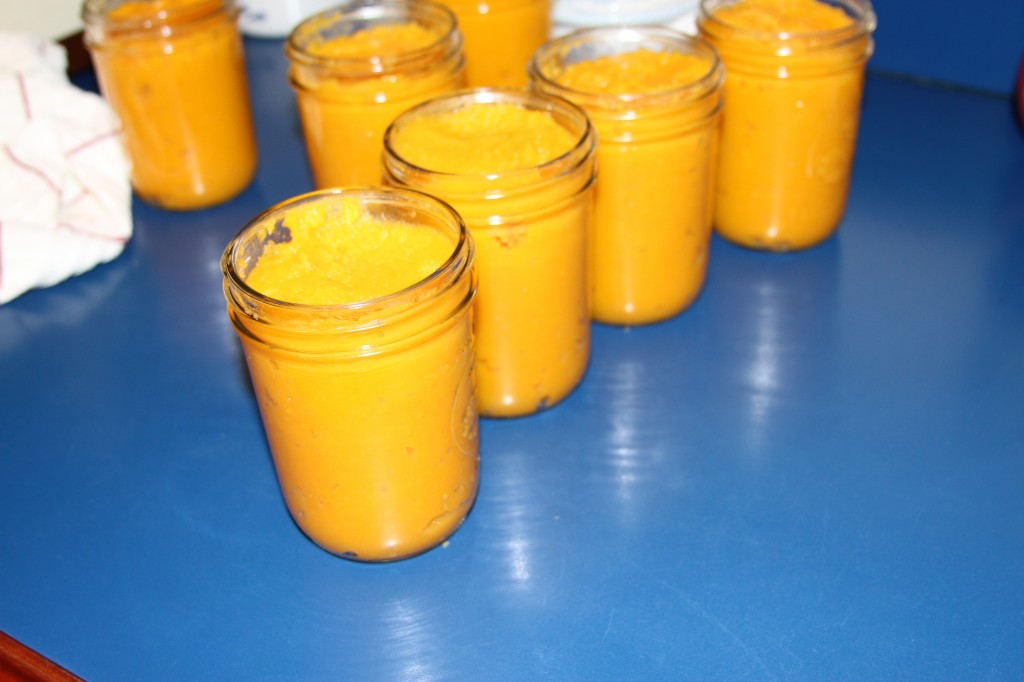
Once we finished mashing the squash, we spooned it into pint jars. I used wide mouth jars for the squash. You should leave 1 inch of head room at the top of the jar. (I didn’t do this… and we had some interesting side effects.)
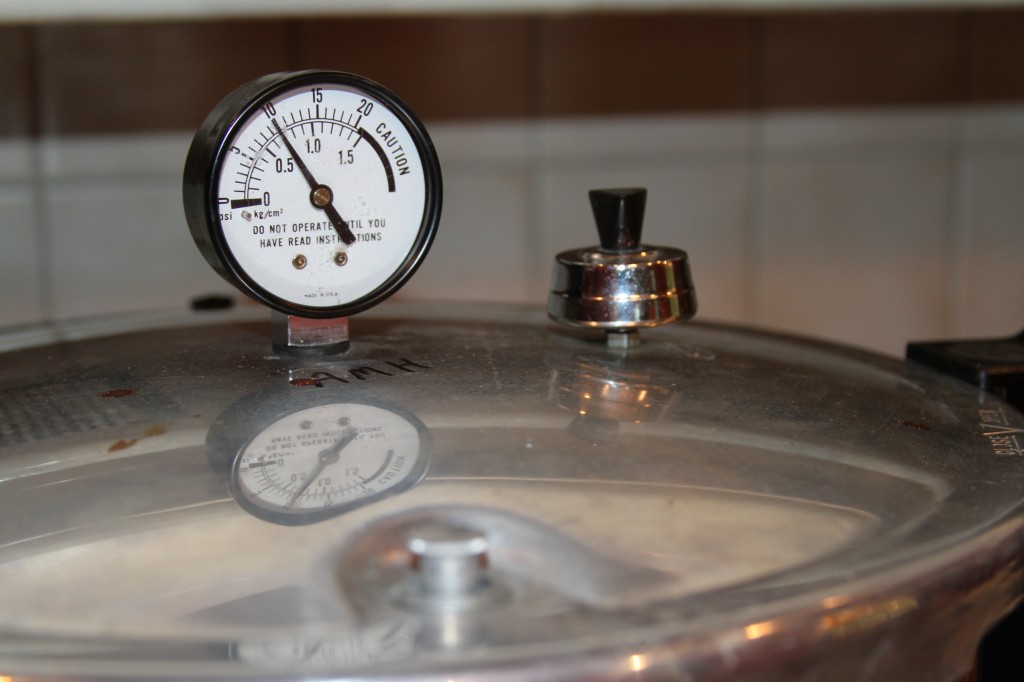
You then pressure can the jars of squash for 1 hour and 5 minutes (or 1 hour and 20 minutes if you do quarts) at 10PSI. This is a rather long and boring process. You set in front of the stove and adjust the temperature to keep a steady 10 PSI (an not blow up the pressure cooker).
Once it’s “cooked” for the alloted time, you turn the burner off and let the pressure drop back to zero. Once the pressure has completely dropped inside the canner, you release the lid. Use hotpads (or you will burn yourself)!
Then remove the cans and let them cool. They should “pop” when they seal. If you do not hear them pop, you can wait until they are completely cool and press down on the lids. As long as there is no give, they have sealed.
And if you fill your jars too full, food will spray out the seal of the jars. Fortunatly, my can I did this with didn’t explode, but we thought it was going to for a while.

So, what do you plan to use the squash for now?
I’m thinking about making squash pie. It’s very similar to pumpkin pie.