Crafty Tutorial – Dry Erase Board
I may have used affiliate links for some of the items in this post. Using an affiliate link to purchase an item won't cost you any more money, but I may receive payment if you click on a link and make a purchase. For more information, visit the disclosures page.
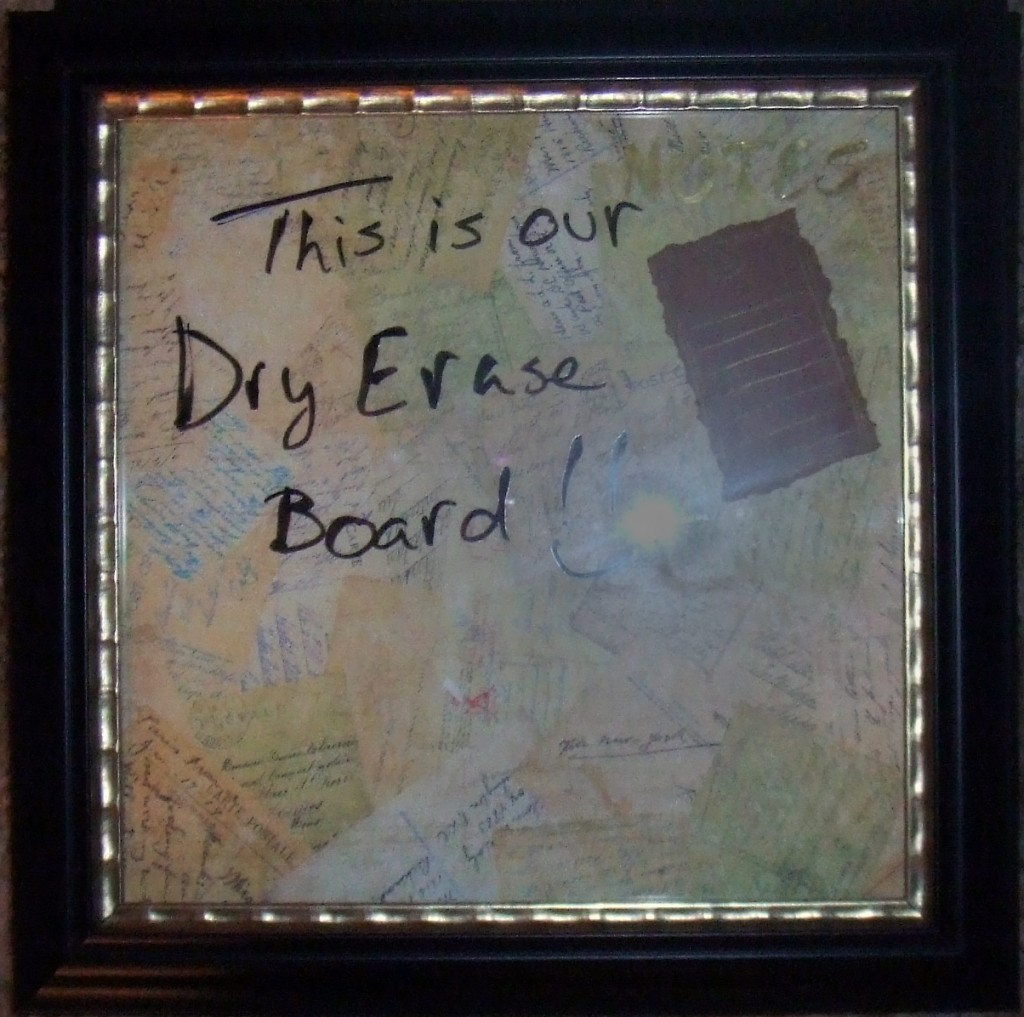
Welcome to the Crafty Dry Erase Board Tutorial! This is a simple project that you can do with things laying around your house. The only thing you may need to purchase is a dry erase marker.
You will need:
- Picture frame with glass (any size you want, but larger will be easier to use)
- Dry erase marker
- Paper
Instructions:
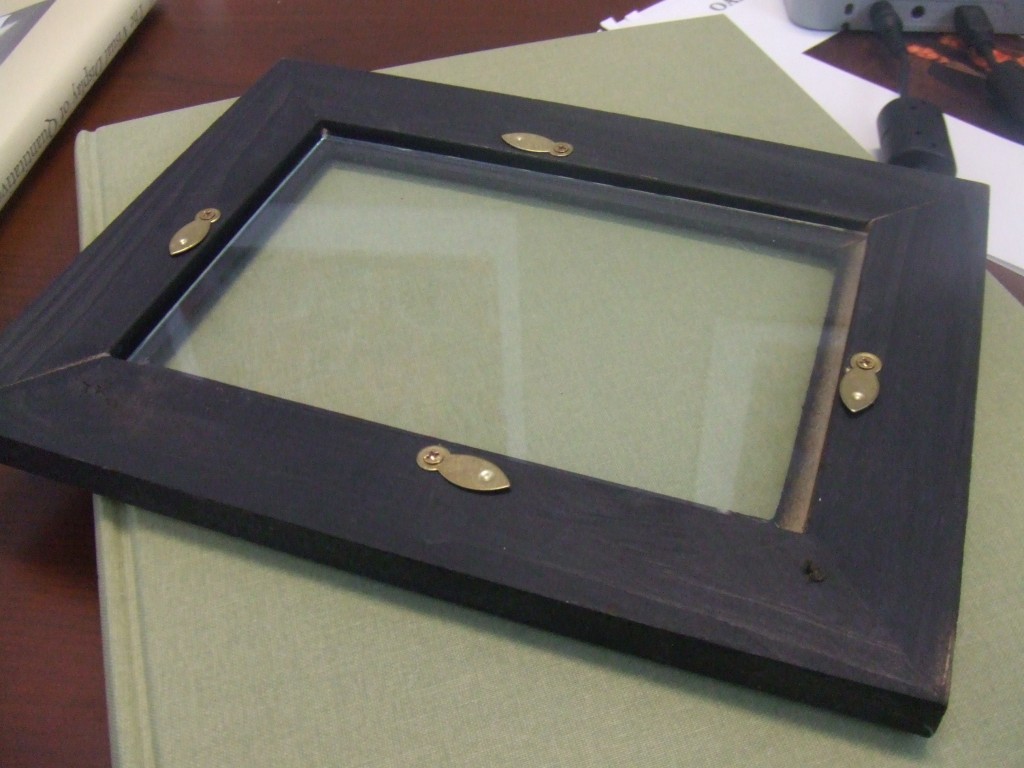
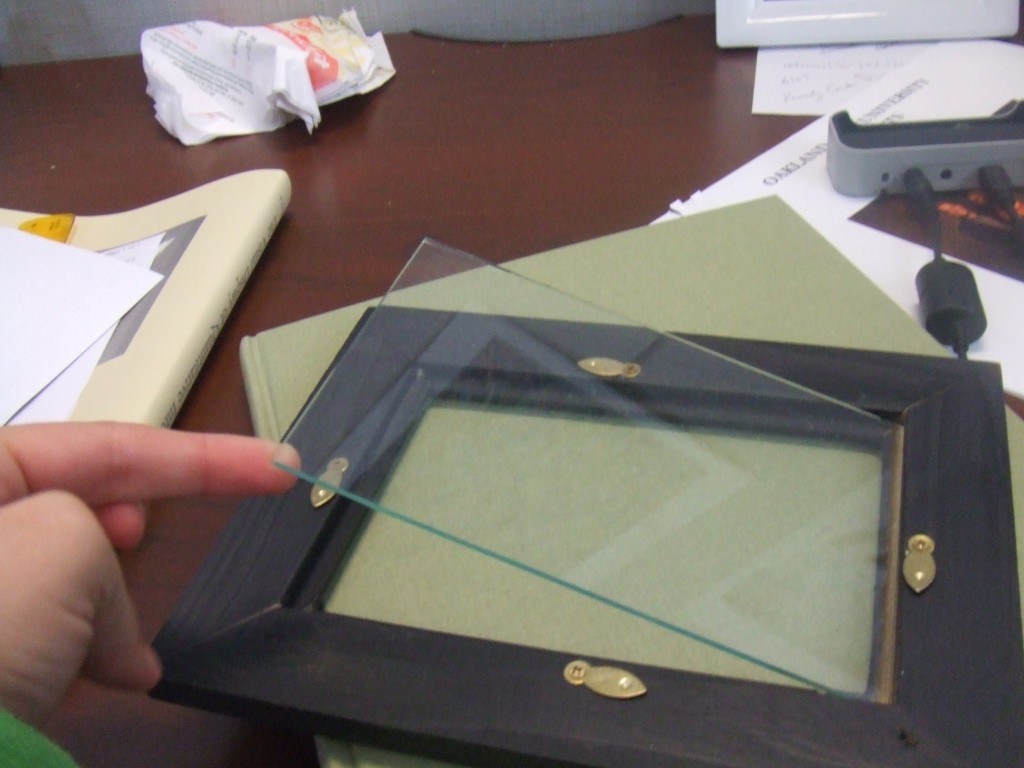
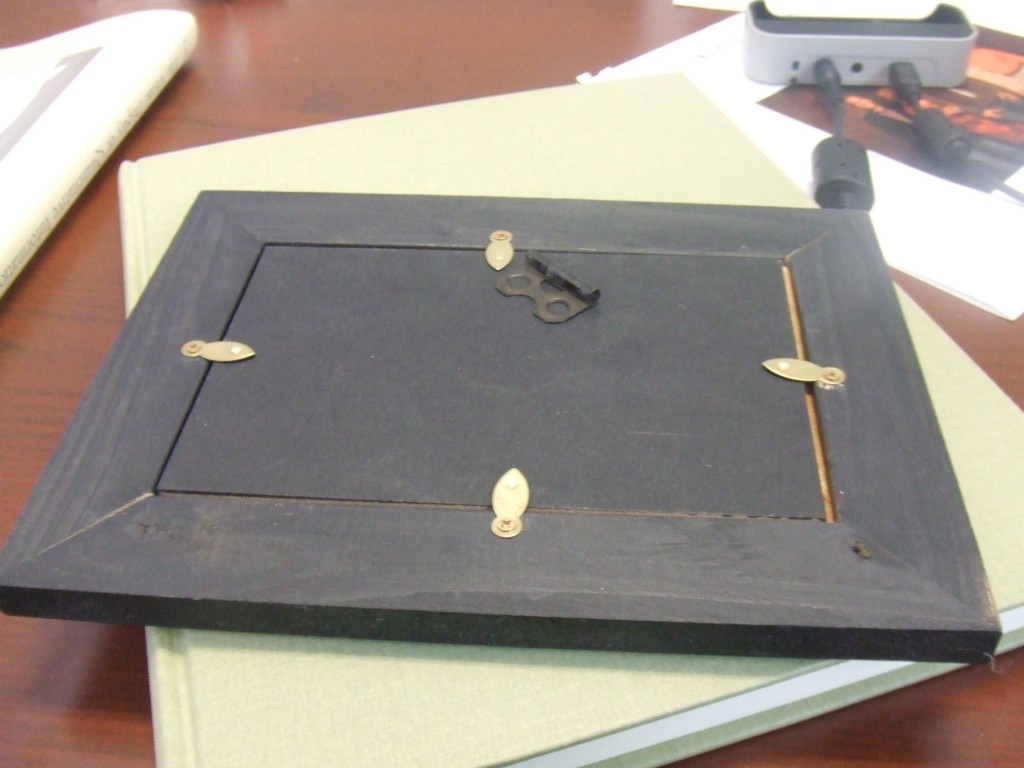
Open the back of your frame.
Verify that there is glass in it. The dry erase marker works on the glass.
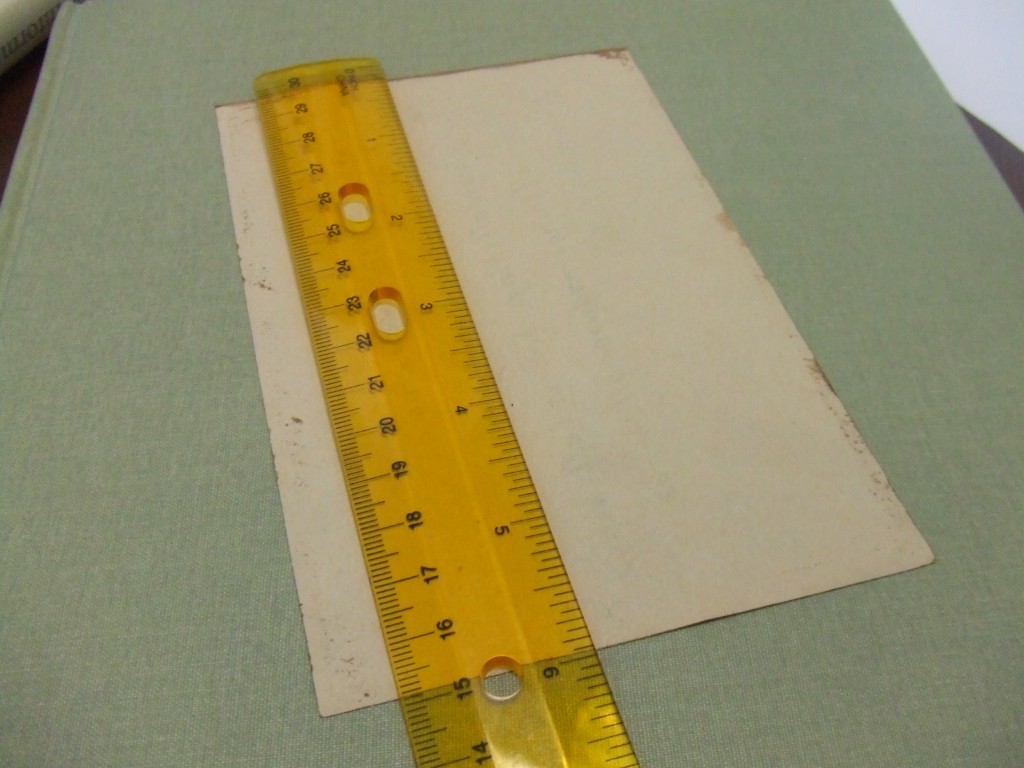
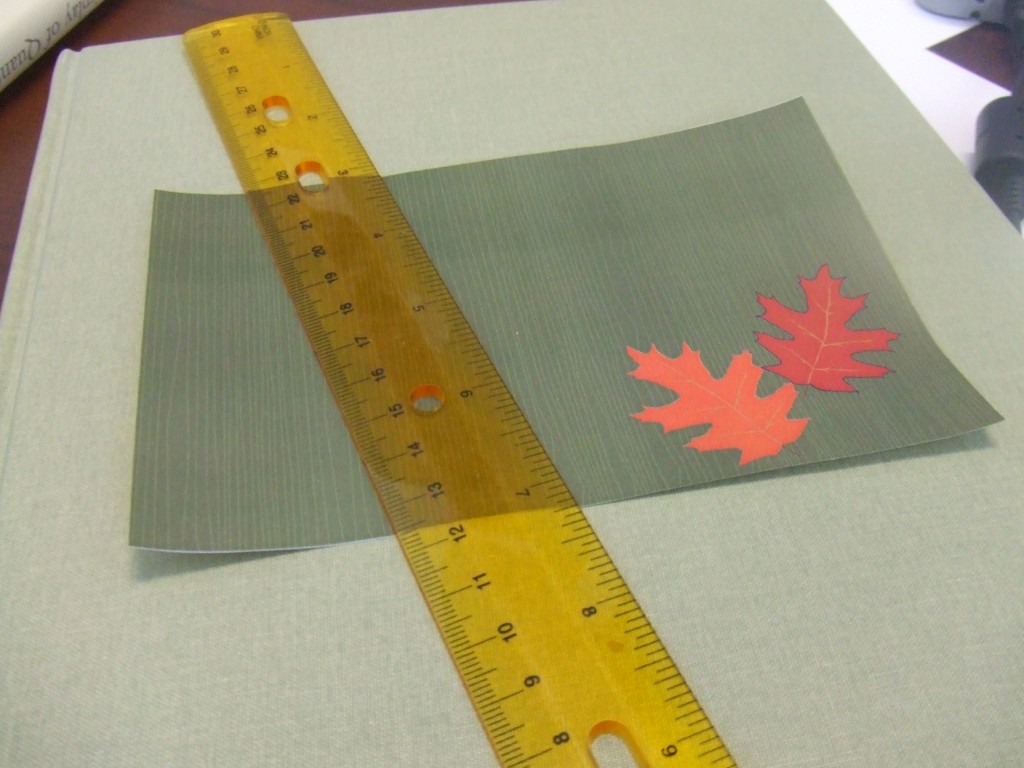
If you don’t already know the size, measure the space for your background. You can either measure the glass, or the paper that was behind it.
Create your artwork. You can use wallpaper, wrapping paper, scrapbook paper, digital artwork, something hand drawn, or anything that you like. Lighter backgrounds will help the dry erase marker show up better. You can make as many of these as you like. They are interchangable.
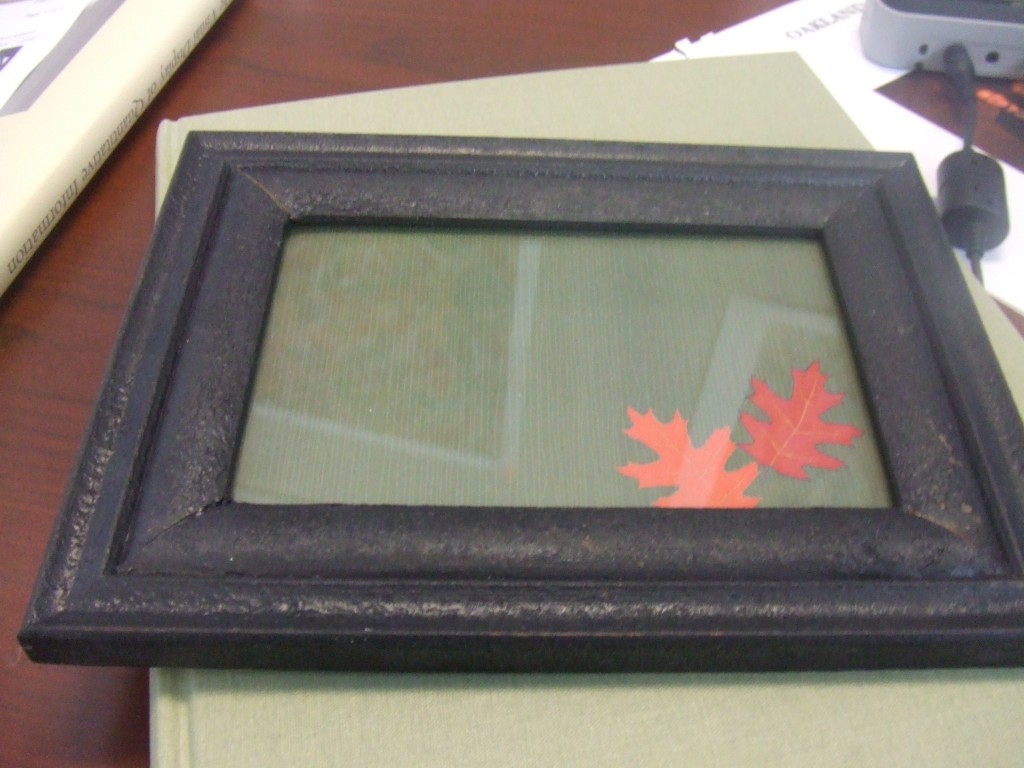
Put your picture in and close the back.

Thanks for info
What a great idea! I am on a mission to find an old frame and make one of these today.
Try your local goodwill.