My Amy Butler Weekender Bag
I may have used affiliate links for some of the items in this post. Using an affiliate link to purchase an item won't cost you any more money, but I may receive payment if you click on a link and make a purchase. For more information, visit the disclosures page.
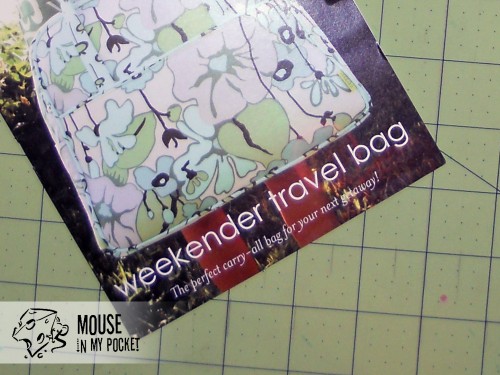
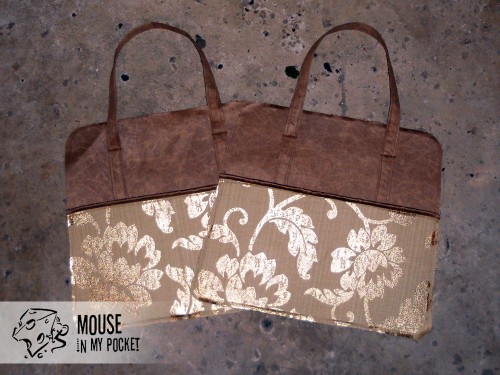
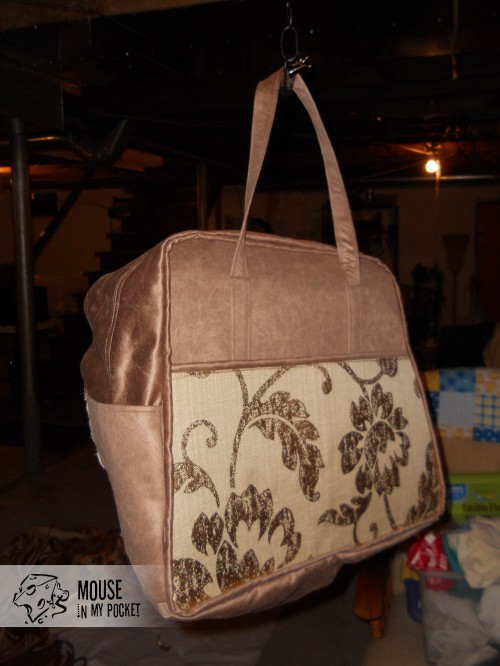
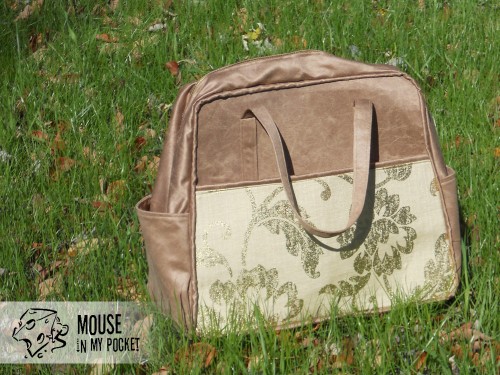
In my last post I mentioned that I was making a Weekender Bag. I’m happy to say that it’s done!
The project uses a ton of fabric and the pattern was a bit difficult for me to follow, but I’m blaming that on the fact that I’ve never had to read a pattern before. After this, I feel like I can make anything.
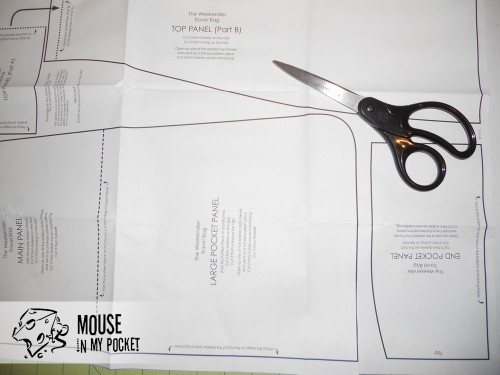
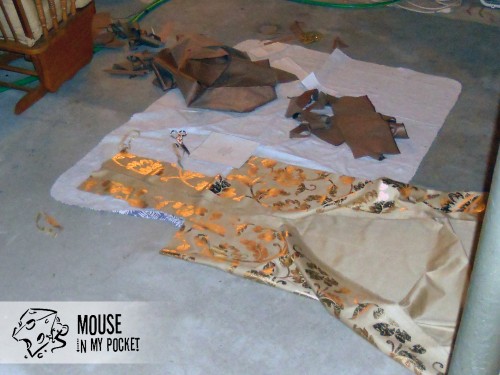
The first thing I had to do was cut out my pattern and fabrics. I did my project a bit differently than the pattern calls for. I basically made my exterior and lining of the same material, and added accent fabric for the pockets only.
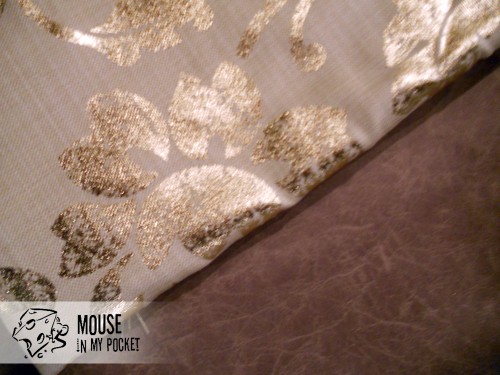
Since I didn’t know how much fabric that would mean I needed, I purchased enough of the moleskin fabric to do the entire bag in, and purchased enough of the woven metallic to do the entire exterior. That means I have a lot of fabric left, but I’m excited about that. I think I’m going to make some zip pouches to match.
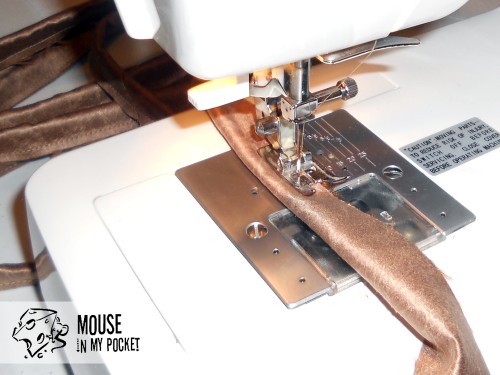
This was a really interesting project for me. I made my first cording ever – and I also learned which one of the feet for the machine is a zipper foot. I’ve used that a lot in this project.
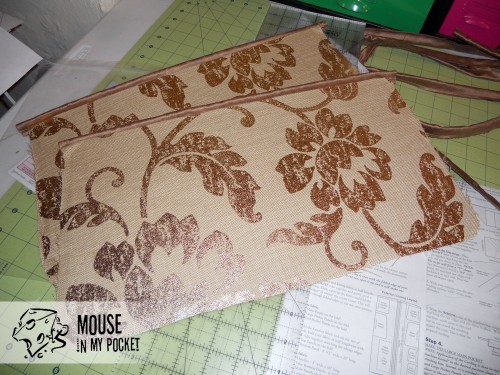
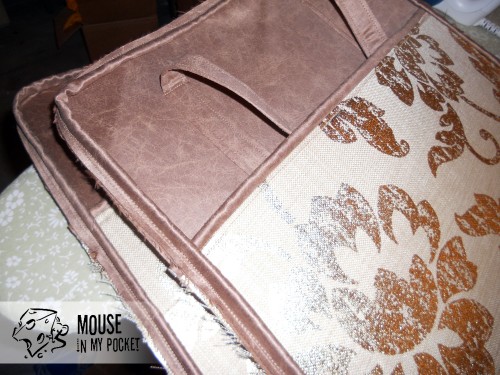
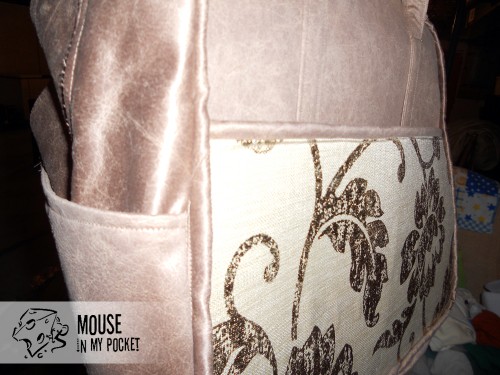
After getting the fabric cut and cording made, I got to assemble the large exterior pockets. They are the only section of the project which uses my accent fabric.
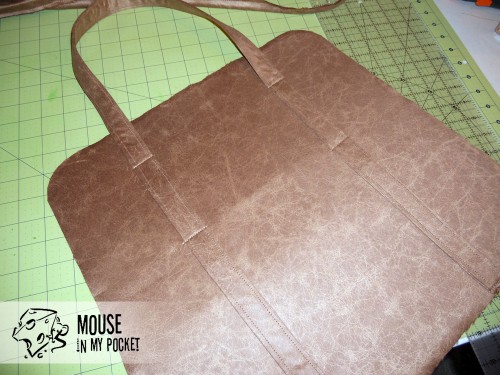
After completing the pockets, I got to put handles on my main exterior panels. This caused me to bend a needles. So that’s one needle down.
Once that was done, I added the pockets to the main panels, and attached the cording around the edges.
At this point, the main section was put aside for a while while I worked on the top section. It was really pretty simple, two pieces of fabric and a zipper. I broke 2 needles putting in the zipper (that’s 3 so far). Those metal teeth were a bit dangerous. Once the zipper was done, I added the end pockets.
The next step was to create the exterior bottom section and attach it to the top section. That whole area was then pinned to the first of the main panels and sewn down.
Once that’s done, I could really see the bag coming together.
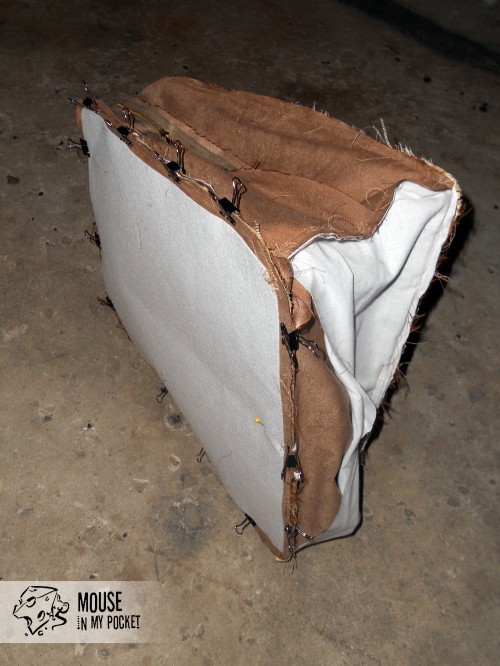
The next step is to attach the other side of the bag. And it’s a reason I really love binder clips.
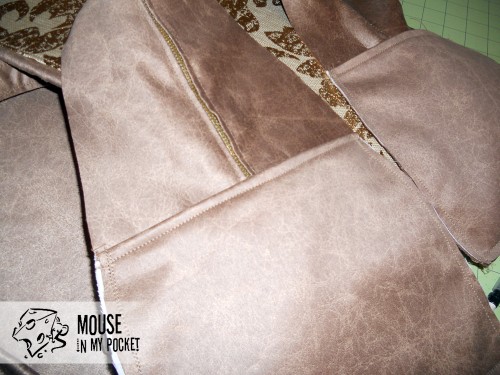
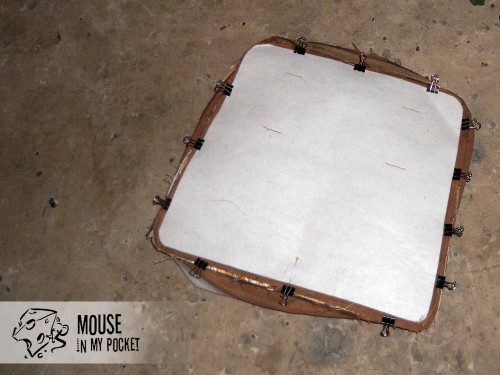
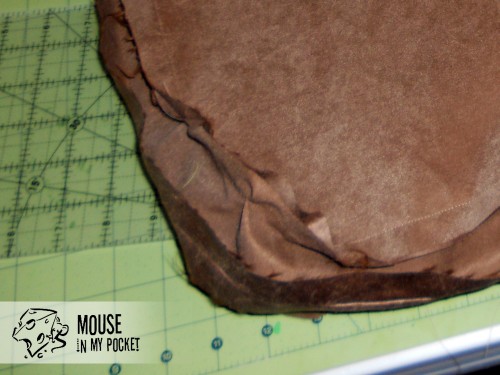
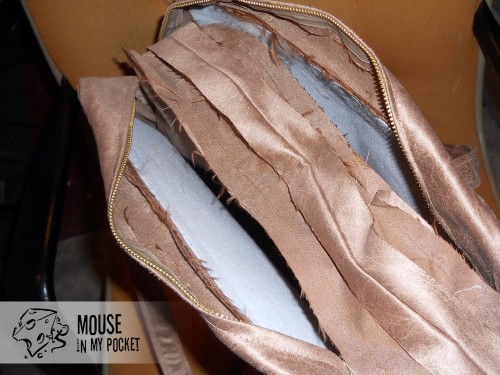
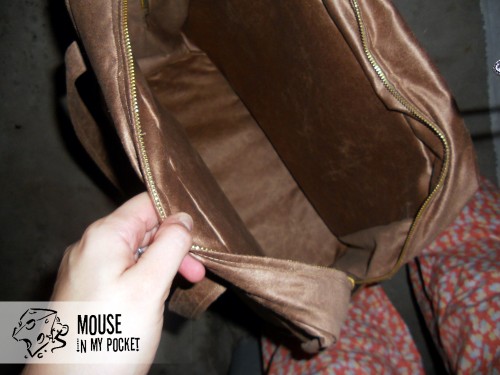
Attaching the second side and adding the peltex to the bottom took another hour and 3 needles. I broke two attaching the bag, and another on the peltex. I think I’d have had a LOT less problems with this, if I hadn’t used the moleskin… but it does look good.
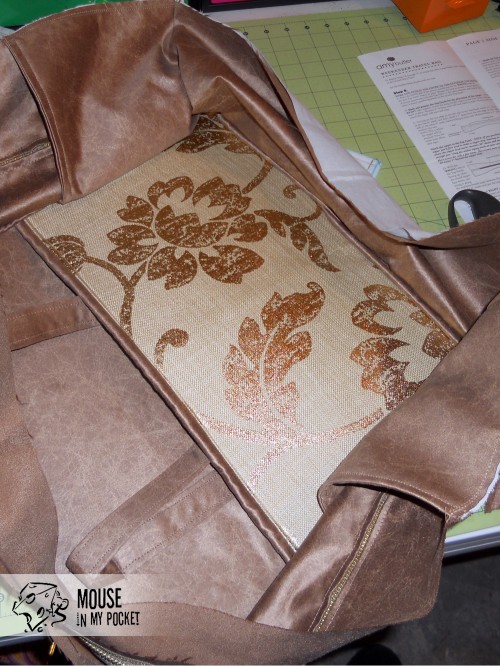
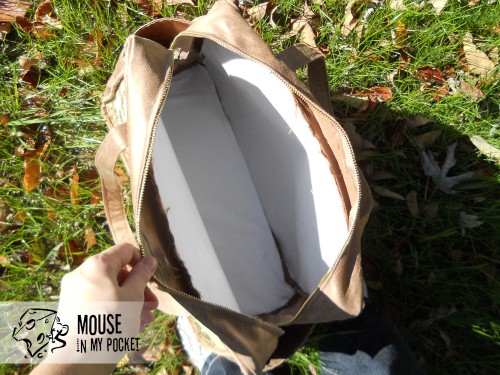
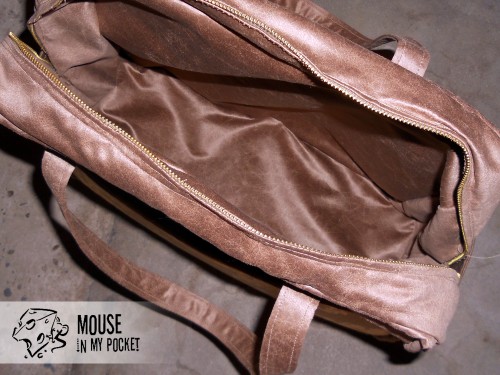
All that’s was left to do was the lining and false bottom panel. It was actually a lot easier than I thought it would be… though I cheated and machine stitched the lining into place,because I just wasn’t strong enough to keep pushing the needles through the moleskin.
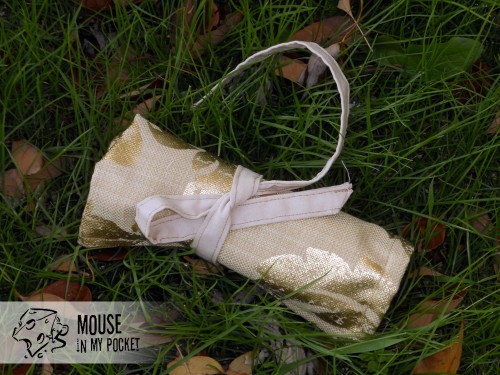
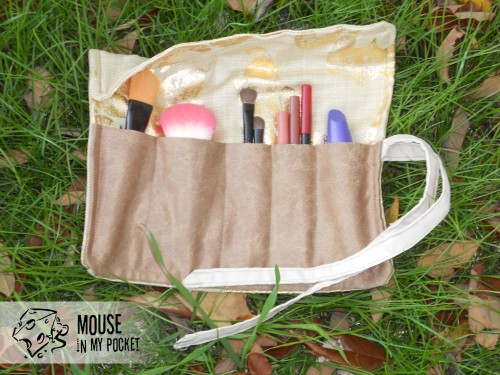
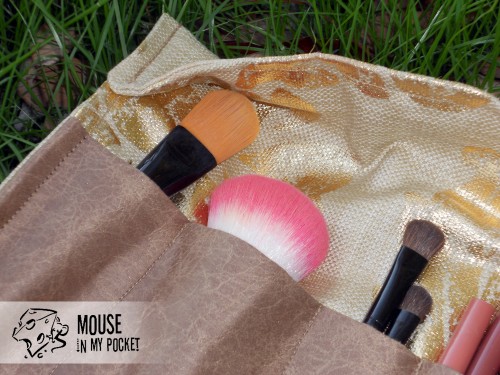
 I also took a little time this weekend, and used some of the extra fabric to make a makeup brush roll. What did you do with your weekend?
We are linking up at:
Brassy Apple - Make it Monday
Positively Splendid - Saturday Seven Party
Creative Itch - Sew Cute Tuesdays

O my, I am impressed! Beautiful fabric choices. Your weekender bag (with matching pouches) will be great.
Thanks!
Gorgeous choices in textiles! I love the moleskin! This is my next project to tackle. You have done an excellent job!
thanks so much! I love how it turned out, but I wouldn’t recommend the moleskin unless you can find some leather needles. I destroyed more than one package of jean needles making it.
Your weekender bag is just wonderful! I’ve had the pattern for awhile now. It does not look easy to me. You did an amazing job and I just love your color choices. I can see you carrying it downtown in Carmel!
Thanks Judy! The project really wasn’t anywhere near as difficult as I thought. And if you’re on Threadbias there is a group/event for people making them. Everyone is sort of helping each other.
Hi Andrea, UK calling, i am about to start the weekender bag,excited but nervous about it, hoping i dont get it wrong. Could I ask how long it took you to make it as in hours please. Thankyou
Maxine, it took me about 12-14 hours from start to finish. This was my very first project like this tho, and I think if I had used the type of fabric it actually called for instead of the moleskin I could have gotten it done faster.
Hi Andrea,
Where can I get the pattern for the weekender bag?Love it .Want to make it.maybe you have already learned of this tip by now,but a teflon foot will taje caare of the problem with the moleskin . Yoy did a great job with it tho.
patsy
Patsy, it’s an Amy Butler pattern, so you can find it lots of places online. Pink Chalk Fabrics, which is a great online fabric shop carries it.
Thanks Andrea,
I’m going to find and order it.Will let you know the results.
Patsy