More Muslins
I may have used affiliate links for some of the items in this post. Using an affiliate link to purchase an item won't cost you any more money, but I may receive payment if you click on a link and make a purchase. For more information, visit the disclosures page.
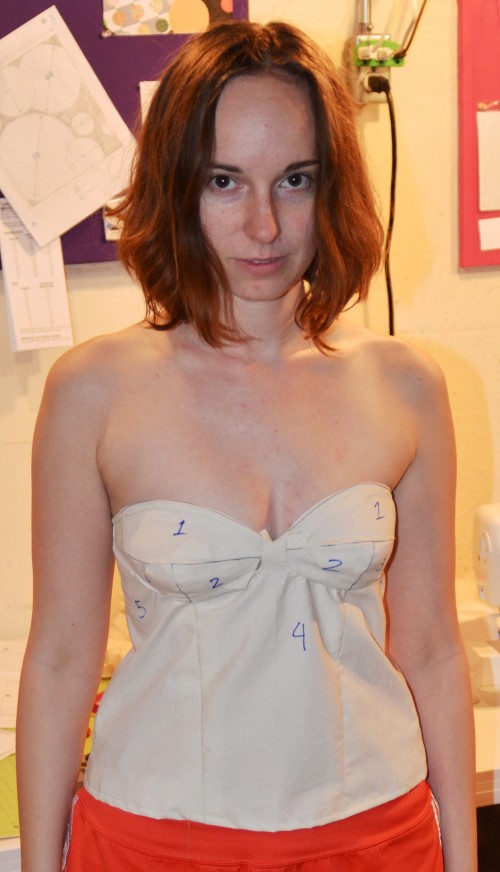
Over the last week, I’ve been working some more on my Bombshell Dress top. I started with the first muslin that I made, which fit perfectly, except for the length. Since I wanted it to be a top and not part of a dress, I needed to add a full 4 inches to the length.
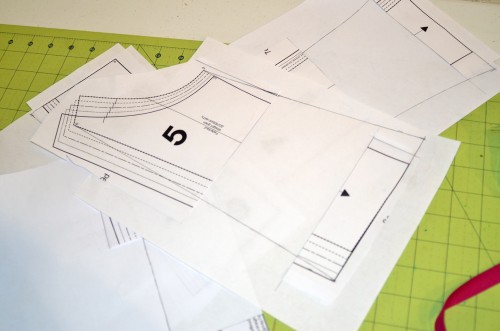
To do this, I also wanted to compensate for my hips. That meant adding some width to the pieces as well. To do this, I did a traditional slash and spread to add the length and then added some width to the seams which I then graded to the original seam at the top.
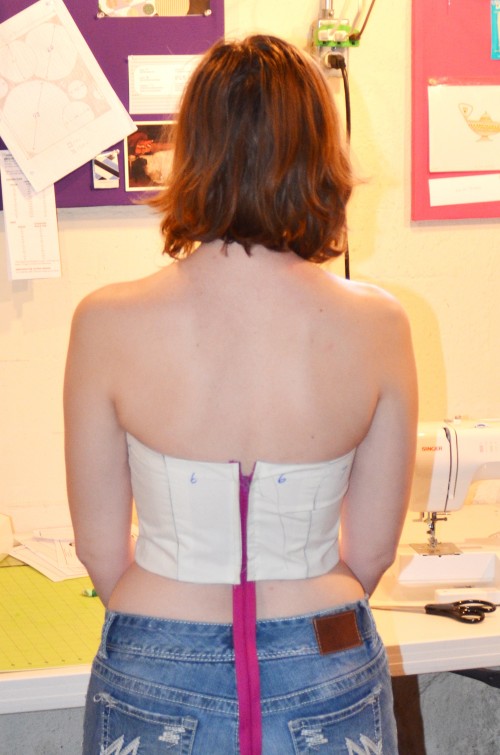
After I made the muslin from this, I discovered a problem with this take. By grading all the way to the top, I was destroying the perfect fit that I’d had from the belly button up. I ended up with a top that fit more like a circus tent!
At least I got the length right.
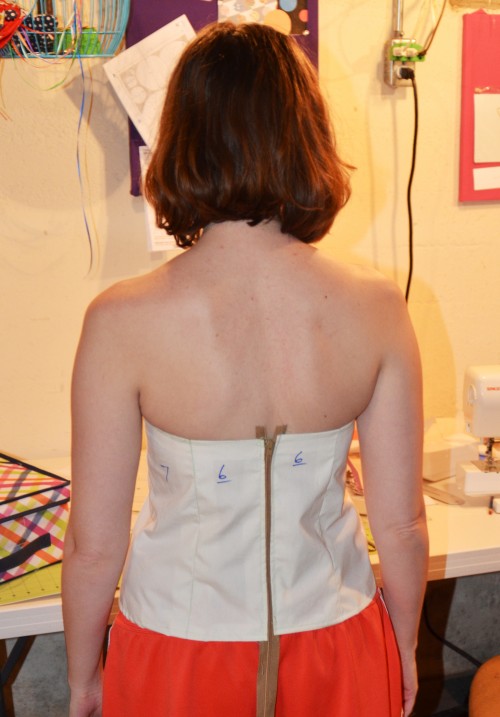
After talking with my MIL about it, we decided the best solution was to start back at the original pattern and add the length (and any width) to the bottom only.
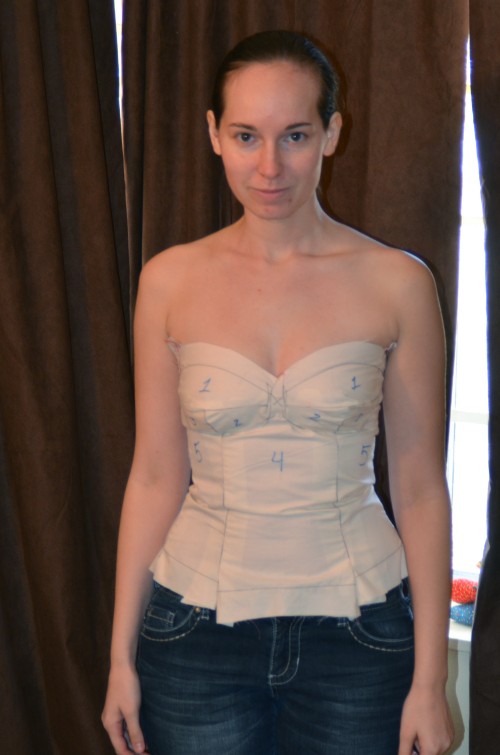
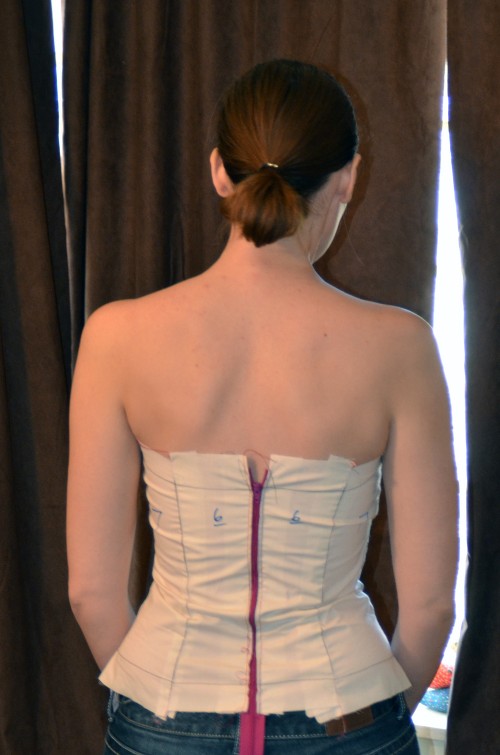
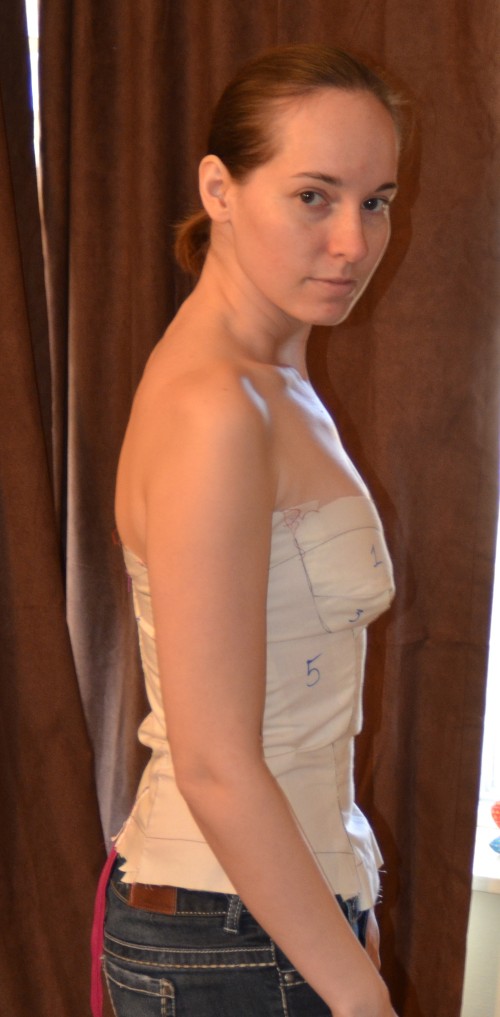
This one fits a lot better, but I need to figure out how to adjust it for the tight wrinkles I’m getting. Especially for the wrinkle that is happening at the zipper. I’m really starting to look forward to cutting out my fashion fabric.
See more about this project on Threadbias.
Shared on Make it Wear it Thursday on The Train to Crazy


I think you should have been a seamstress!
I don’t know about all that… I don’t think I’d want to put in this much work for anyone else.
Congratulations on paying attention to details and on being persistent. It will really pay off in the end! 🙂