Craft Month 2011 – Day 26 – Make Your Own Coasters
I may have used affiliate links for some of the items in this post. Using an affiliate link to purchase an item won't cost you any more money, but I may receive payment if you click on a link and make a purchase. For more information, visit the disclosures page.
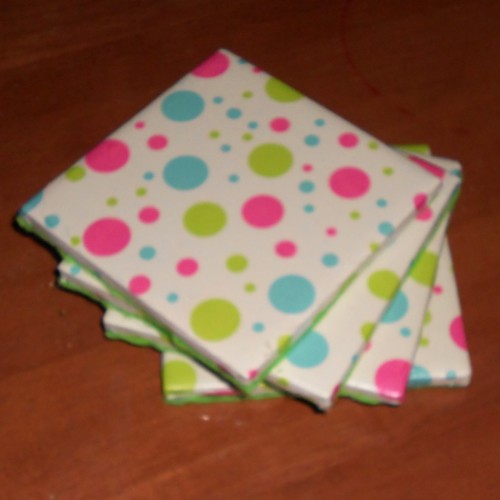
Today, I’m going to tell you how to make your own coasters. To start my project, I went to our local building supply store and purchased some tiles. I bought 4 of them for 68 cents. That’s right, 68 cents. I brought them home and got together the rest of the items for my project: Mod Podge (I used Matte for this project), felt, hot glue, napkins or tissue paper in the pattern of your choice.
To start, make sure that your tiles are good and clean. Since, you just bought them they should be, but it won’t hurt to wipe them off again. Once your tiles are clean and shiny, add a layer of mod podge directly to the tile, and lay your tissue paper on it. Let this dry completely, ten add a second coat of mod podge over the top. You’ll want to stipple the top coat, so that you won’t see the brush strokes. Let this completely dry, then fold the extra edges over the back, and seal them with mod podge. Then you let this dry.
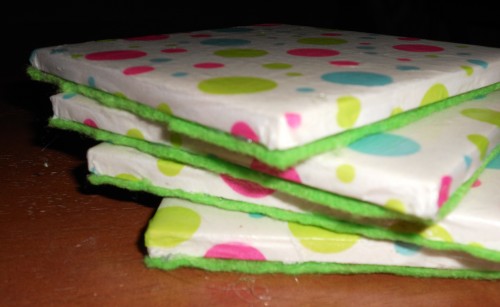
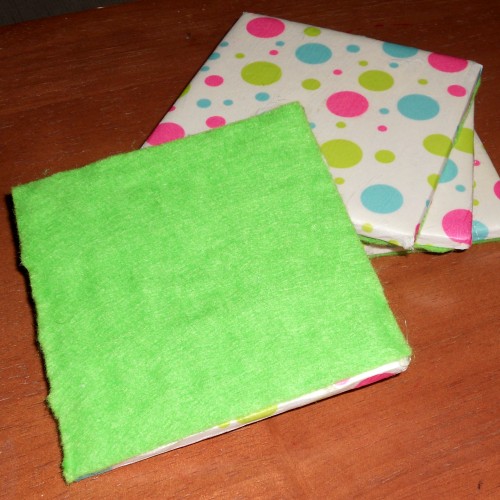
Once the back is dry, get out your hot glue, and glue felt across the back. This will keep your new coasters from scratching the table, and give you a clean finished look, all at the same time.


Love these!