Craft Month 2011 – Day 28 – T-Shirt Scarf
I may have used affiliate links for some of the items in this post. Using an affiliate link to purchase an item won't cost you any more money, but I may receive payment if you click on a link and make a purchase. For more information, visit the disclosures page.
In honor of the return of cold weather… AND SNOW… (yes really snow – full disclosure – I’m doing this post a couple days ahead of time, and hopefully by the time this actually goes live, there will be no snow) I bring you a use for all of your old tees that you just can’t seem to get rid of. You know the ones I’m talking about… those old concert and club tees setting in the back of your closet, in the bottom of your drawer, or even in a box, because they’re old, faded or just plain don’t fit anymore.
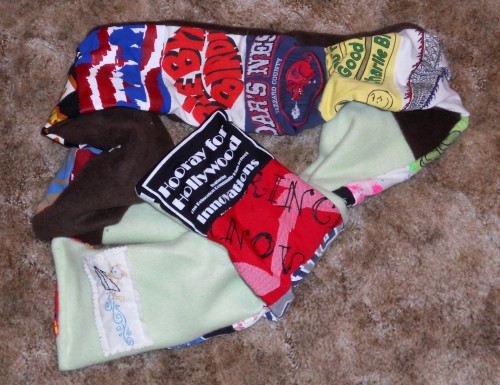
Make yourself a scarf. To start this project, I took and envelope and traced it into the middle of a cardboard sheet. I used a larger sized greeting card envelope. Once it’s traced, cut it out. But just the center, because we will actually be using this as a window template. Making a window template will allow us to actually see what we are going to be cutting out and to get the best design out of our tees. Depending on the size of your template, and the size of the design on your tee, you may be able to get multiple blocks out of it.
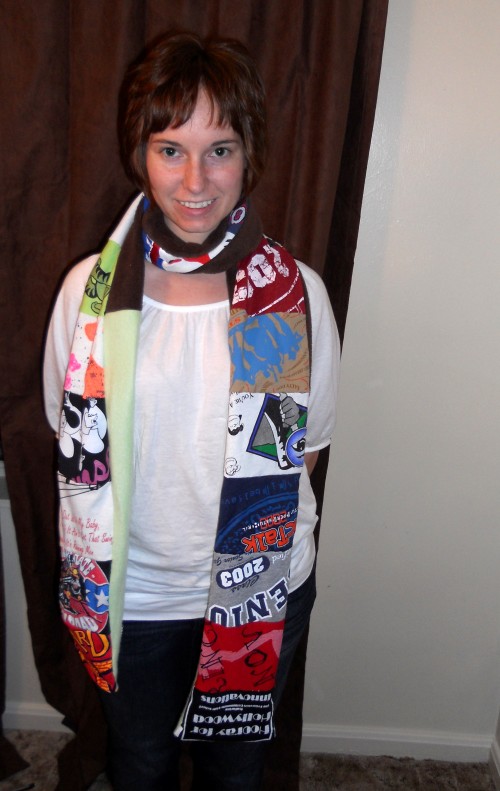
Trace your blocks out with a washable fabric marker, that will show up on the tee, and cut. I used a total of 20 blocks for my scarf, but do whatever feels right to you for the legnth. Lay all of your blocks out and arrange them in the order that you like best. Once that’s done, pin them together and sew.
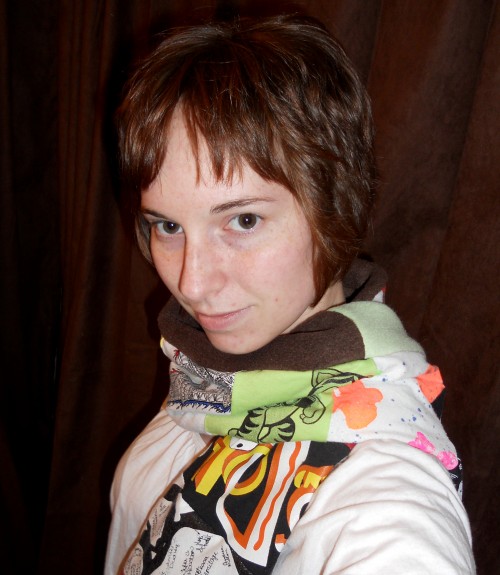
For the back, you can use multiple blocks of fleece, or one long piece, this is up to you and your visual preference. I did a total of 3 long blocks, but you could cut out a number of blocks in contrasting colors to coorespond to the number of blocks in your scarf.
Put front sides together, and stitch together, leaving one short end open to turn. Turn your project over and sew the final edge together.
Congratulations! You’ve made a scarf. For finishing, I’m going to speak to my mum-in-law, who quilts, and see about having the pieces quilted together, to help it lay a little flatter, but it is fine how it is, for now.


First off, that scarf is fabulous! What a great idea! Thanks for your comment on my camera strap! I think (sorry, I don’t have exact measurements with me) my Canon strap measured around 2″ x 25″. Most camera straps should be around the same size. My cover fits a little large, but not big enough to slide around. Does that help any? If not, let me know and I’ll get you my exact measurements and help you a little more!
Tori
Thanks for the info! I’ll be sure to let you know how it turns out.
Loved it! What an awesome way to keep special shirts!
You know you could totally make one! I know you have the shirts, and I’m sure you can sew a straight line. That’s all it takes. With a little time, you could even do it without a machine.
Such a great idea to use old shirt. Love it!