Rooting Roses
I may have used affiliate links for some of the items in this post. Using an affiliate link to purchase an item won't cost you any more money, but I may receive payment if you click on a link and make a purchase. For more information, visit the disclosures page.
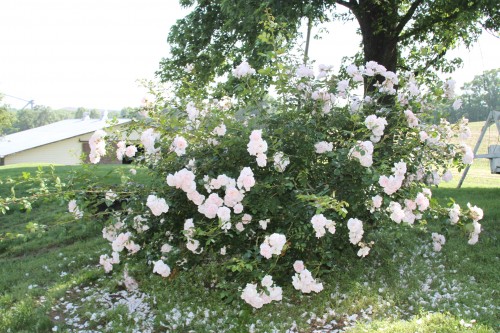
My big project this weekend was to take cuttings from my grama’s rose bush, and root them. My grama passed away this spring, and this rose bush belonged to her mom, and her mom’s mom. The process for rooting the roses was actually very easy. I just hope that I get good results.
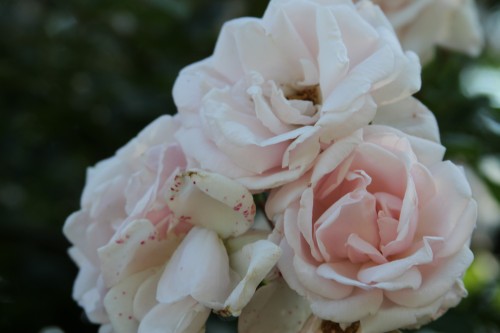
I just wish that I knew what kind of rose this was. Do you know what kind of rose this is? As old as it is, I’m pretty sure that it is a type of old garden rose. (These are roses that were cultivated before 1867, the year when the firsthybrid tea ‘La France’ was introduced.) but beyond that, I’m not sure. From the descriptions I have read online, I think that it’s probably an Alba. (Mostly white flowered,or pale pink roses that only bloom once. The foilage is the color of sage green or grayish green.) If you know for sure, or have any other ideas, please let me know.
Now, we know why I’m rooting this rose bush. Want to try this yourself? Great!
To start you will need:
- empty 1/2 gallon milk jugs (number cooresponding to the number of cuttings you want to make)
- empty 2 liter bottles (same number of these as milk jugs)
- exacto knife
- root hormone
- potting soil
- rose cuttings
- Start with your milk jugs, cutting off the top. Also cut some holes in the bottom to help with drainage.
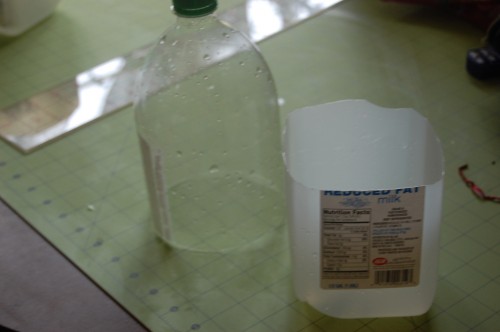
- Then, using your exacto knife, cut the bottom off of your two liter bottle. You will want to leave the lid on your bottle.
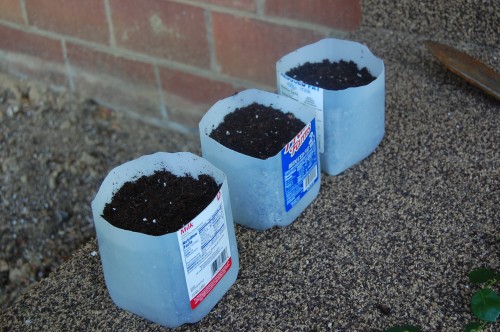
- Next, you want to fill your jug with soil. Make sure to tamp it down. Water well, then allow to drain before moving to the next step.
- Take your cuttings, and dip them in your rooting hormone.
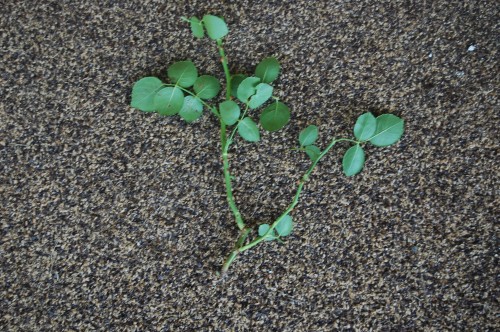
- It is important to start with good quality cuttings from plants that are well-watered. We use semi-hardwood cuttings – new growth is too fresh to root, and older wood can take too long, increasing the chances that your cuttings will rot instead of root. A rose stem with a spent flower on it is the perfect age.
- Try to get the whole stem with the heel wood, where the stem meets the main cane. This part of the stem has more buds, and roots form here more reliably. (Note: If you are not able to process your cuttings at the time you cut them, you may wrap them in wet paper towels and put them in a plastic bag in the refrigerator for a few days.)
- If a heel-wood cutting is not available, try to take a stem with 5 – 6 leaflets. Cut the bottom of the stem below the last leaflet, at a 45 degree angle toward the back of the bud like this.
- Use the knife to lightly score the bottom of the cutting on two or three sides. Take care to only cut through the bark, not deeply into the pith.
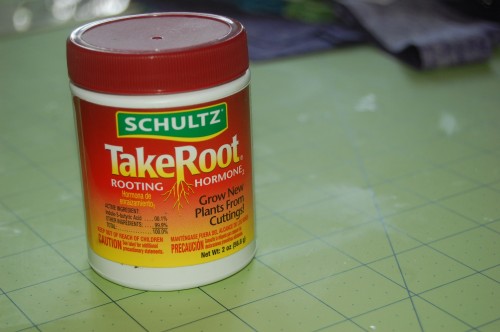
- Make a hole in your soil with your finger, and put your cutting in the hole, filling in any excess space.
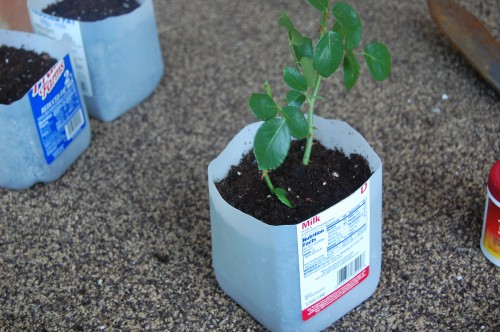
- Slide your bottle top into the jug. It should fit snuggly.
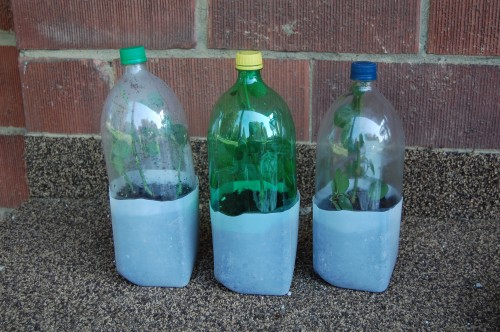
- Leave outside, out of direct sunlight (i.e. under a bush). This will keep the container from overheating and killing the cutting.
- To tell if your plant has rooted, do not pull on the plant, look through your semi-transparent milk jug bottom. When your plant roots, you should be able to see the roots.

