Homemade Jellies
I may have used affiliate links for some of the items in this post. Using an affiliate link to purchase an item won't cost you any more money, but I may receive payment if you click on a link and make a purchase. For more information, visit the disclosures page.
I hope everyone out there had a great Christmas! I certainly did. I got tons of awesome things, but it’s not fair to get gifts and not give some in return. My favorite gifts to give is home canned goods.
There are a couple of reasons I like to do this. First, I feel like it’s a little more special to give someone something I’ve made than to give him (or her) something I went to a store and bought. Of course, who has time to make gifts at Christmas time? Not me! That’s another reason canned goods are great, it’s the type of thing you can do during the summer, or the anytime you’ve got extra fruits and veggies around.
That brings me to today’s actual topic… making “homemade” jelly. I love home canned jelly, but I don’t always have enough of any particular type of fruit, or the patience time to make it.
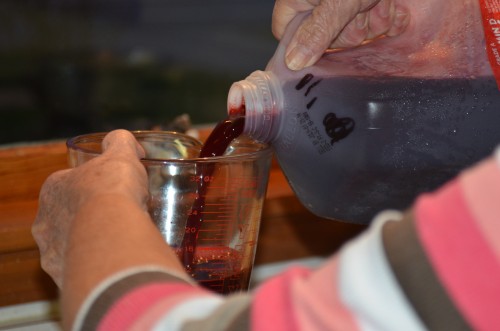
Enter my Mamaw’s special secret. Buy your juice. That’s right, buy your juice. If it’s summer time, that might mean buying fresh juices made by your local farmers at the farm market, or stopping by the store to pick up a bottle of your favorite 100% juice at the grocery store.
buynoprescriptionrxonline.com/soma.html
buynoprescriptionrxonline.com/strattera.html
buynoprescriptionrxonline.com/trazodone.html
buynoprescriptionrxonline.com/ventolin.html
Now, once you have that juice, you’ll need a couple other things.
- sure-jell packets
- sugar — lots of sugar
- butter
- canning jars with lids and rings
- a good heavy pot
- metal spoon
- canning funnel
- pie pan
Before you start cooking your jelly, you want to get everything ready. It will make your life much easier. First, measure out your juice and sugar. Then take your canning jars and set 3-4 of them in your pie pan. This will help keep any spills off of your counter during canning. Go ahead and take your canning funnel and put it in one of the jars.
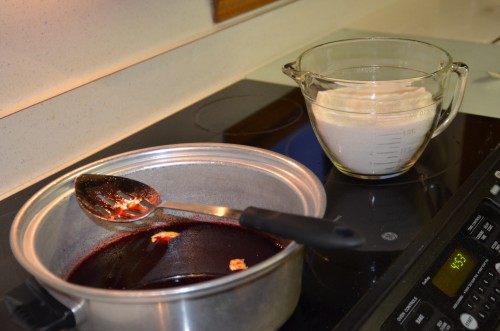
There are four basic ingredients in any kind of jelly you want to make – juice, a thickening agent (in our case, sure-jell), sugar and butter. Different juices will need different sugar to juice ratios to set up properly, but every recipe you make will start with taking your measured juice and pouring it into your pot with a packet of sure-jell and a 1/2 teaspoon of butter.
Why butter? Butter is the magic ingredient that keeps the jelly from foaming too much.
Now that you have that in the pan, you need to stir your sure-jell in good and bring your juice to a full boil. That means that the juice should continue to boil if you stir it. I recommend doing all of this at about medium-high.
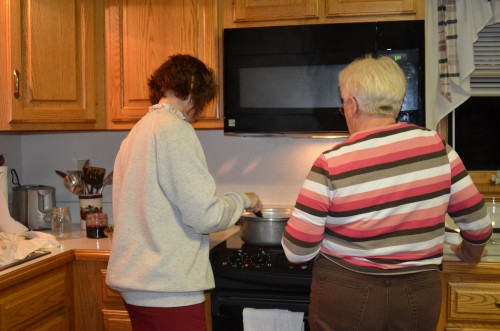
Once it has reached a boil, you will pour in your sugar. This is where it helps to have a friend with you in the kitchen, so that you can stir, pour and hold the pot at the same time. If I try to pour and stir at the same time, my pot spins in circles, so I like to have an assistant pour the sugar for me.
Get your sugar good and mixed in, and keep stirring until your juice reaches a full boil again. Here’s another place an assistant is amazing. You need to stir your juice at a full boil for exactly 1 minute, and then remove from the heat.
Skim any extra foam into your trash or compost. It honestly doesn’t hurt your jelly, but it doesn’t look very pretty.
Now we’re ready to pour the juice out of the pot and into the jars we set up earlier. Make sure to leave about 1/4 inch of air space in each jar. Pour all of your juice into the jars and then place lids and rings on them. Twist those rings tight. This is another great place to have an assistant. Your assistant can put lids and rings on while you pour.
Guess what? You made jelly. Just let it set on your counter overnight to seal (they heat seal themselves) and set up. You can give them as gifts now!
A couple more helpful hints.
- never double your recipe, your jelly won’t set.
- use real granulated sugar, not the cheap extra fine granulated sugar – this also keeps your jelly from setting properly
- do not use splenda or any other sugar replacement unless you purchase the sure-jell (or other thickening agent) that is made to work with it. If you are diabetic, make sure to look for the low or no-sugar sure-jell options.
- don’t be afraid to experiment with juices that are not listed in your sure-jell recipe book. You’ll most likely find something similar and be able to estimate the proper sugar to juice ratio for your sure-jell packet, and if it doesn’t quite set, it will still be amazing on ice cream.


