Truffle Dress
I may have used affiliate links for some of the items in this post. Using an affiliate link to purchase an item won't cost you any more money, but I may receive payment if you click on a link and make a purchase. For more information, visit the disclosures page.
The 3rd project in the Colette Patterns Sewing Handbook is called the Truffle Dress. It’s a lovely little sleeveless dress with a simple scoop neck and a decorative ruffle panel on the skirt.

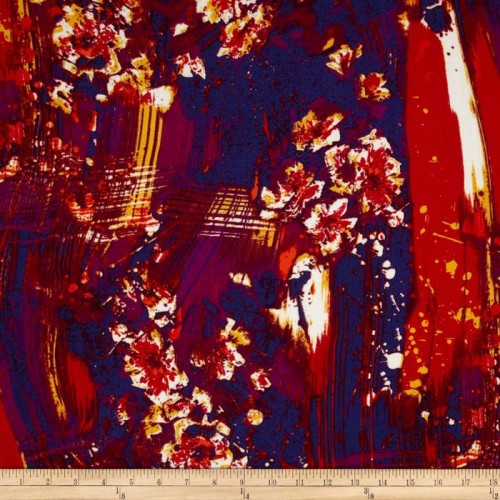
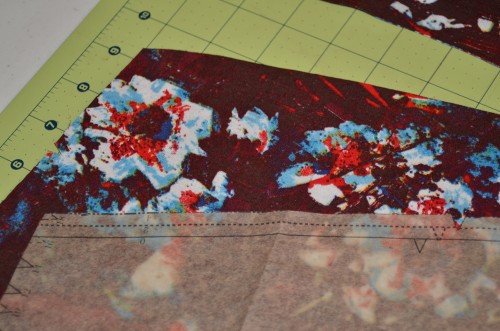
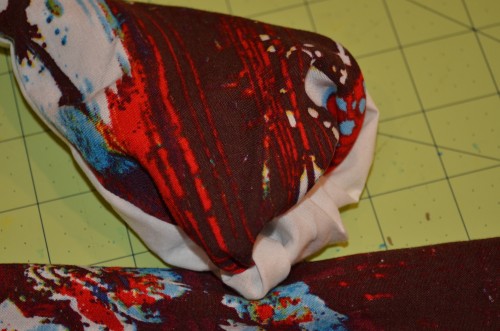
In hopes of getting a finished project that was a little less stiff, I decided to get away from poplin (or quilting cotton) for this project. The project called for two types of fabrics, one for the shell and one for the lining. I chose an ivory cotton batiste for the lining to give the bodice a little more structure and I used a rayon challis to give more drape to the shell. The fabric I chose for the shell was a great print called Van Gogh in Mosaic Red. I picked mine up at a local fabric store, but you can also find it online at fabric.com. One of the things I love about this fabric is how large the print is. (The below photo shows a 1/2 yard for reference.)
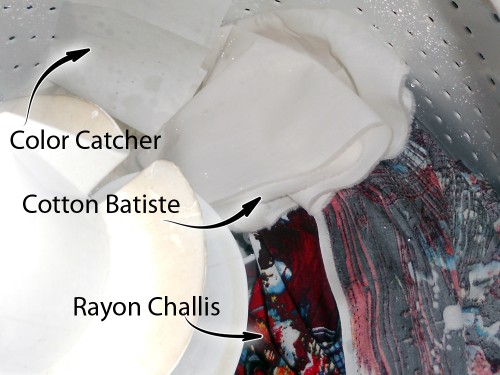
Putting this dress together was a lot like doing the last one. I started by prewashing my fabrics. Even though The cotton was ivory and the rayon had a lot of color, I chose to prewash them together with a Shout Color Catcher. The color catcher was great to keep the rayon challis from bleeding onto my ivory batiste. And I did want to wash the fabrics together because once they were made into a dress, they were going to be washed together all the time.
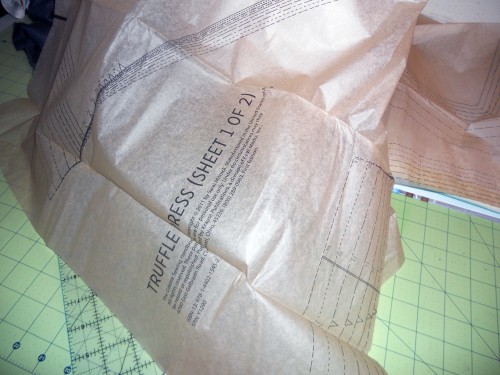
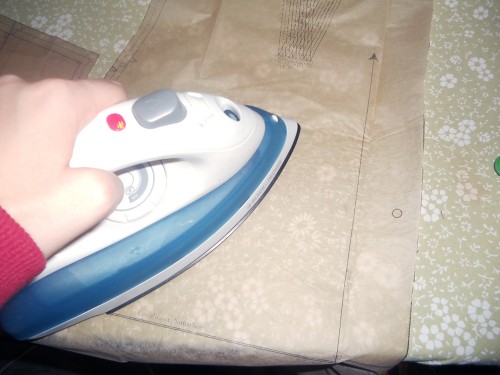
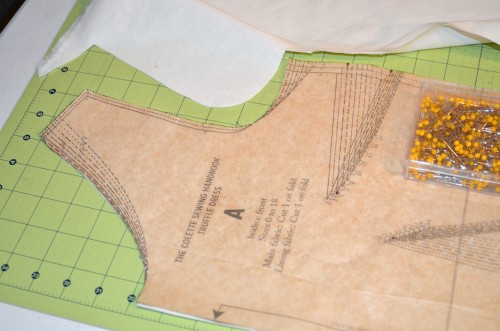
After I prewashed my fabrics, I made sure I had all my pattern pieces cut out and ironed well. They get pretty big creases in them inside the little packet.
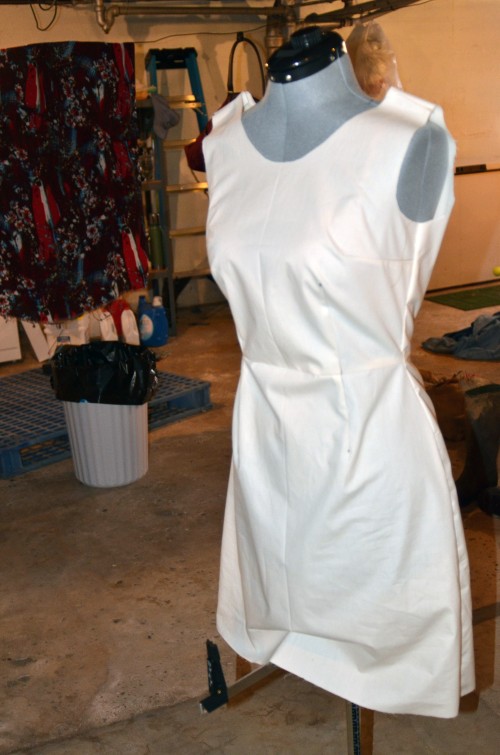
Next I picked out what pieces I needed to cut from my muslin. I only wanted to check the basic fit of the dress, which meant I only cut out the bodice and skirt pieces – no lining or decorative details for this process.
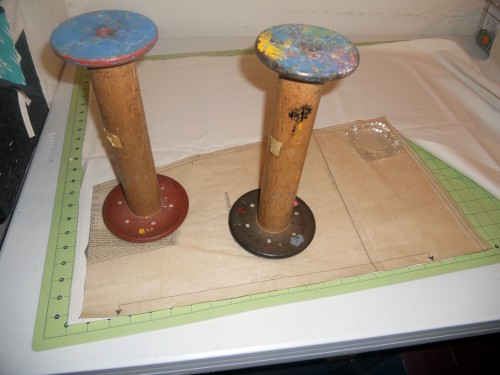
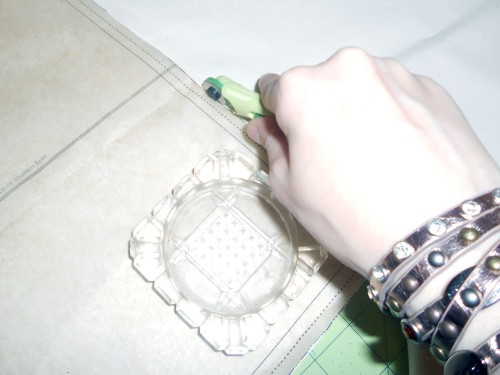
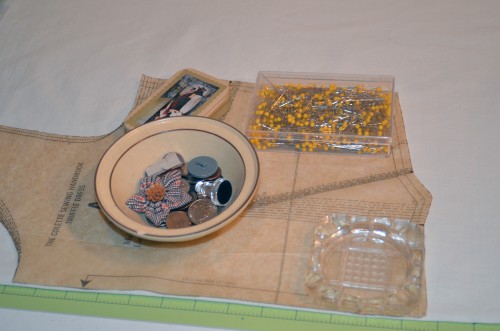
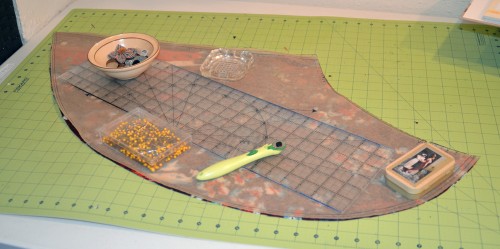
I still don’t have any washers to use as pattern weights, so I’ve been using some ridiculously large vintage spools, and whatever else is lying about in my craft area to hold my patterns down while I cut.
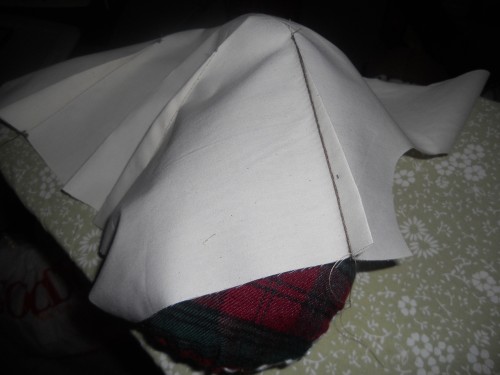
I marked all my muslin pieces and sewed my darts, starting with the front bodice. It was really glad to have the tailor’s ham that Matt got me for Christmas. It made shaping the bodice a lot easier.
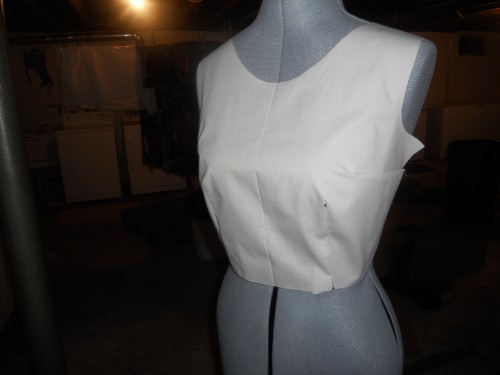
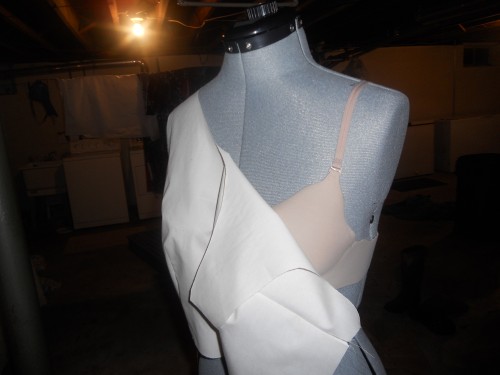
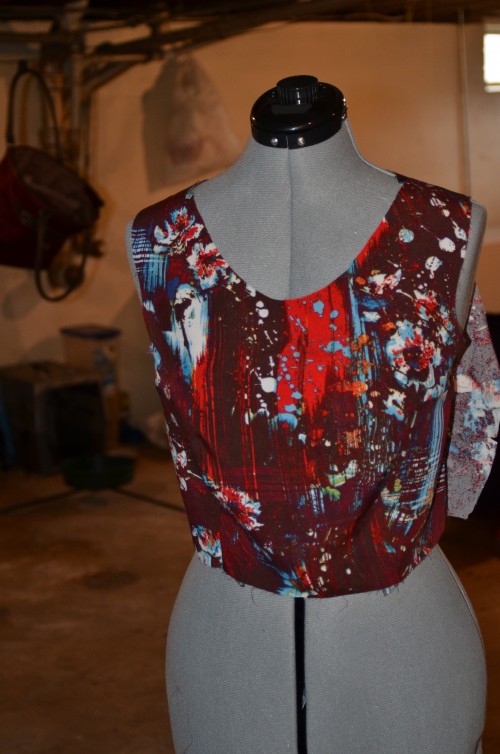
Once I had the darting finished, I added the pieces to my new dress form (thanks dad and Carolyn). It was also a nice addition to my sewing process. I got the form adjusted to roughly what I needed and added an old bra to get the figure adjusted just right.
The dress form really was helpful in seeing the fit and making adjustments to my muslin.
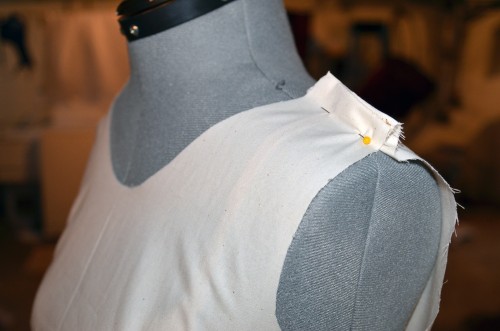
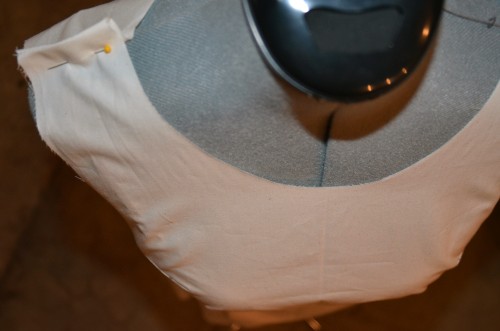
My first muslin wasn’t quite perfect. I decided on an adjustment to make the shoulders fit better, and judging by the wrinkles I needed to play a little with the fitting. However, my rayon had stretch to it, so I wasn’t worried about that.
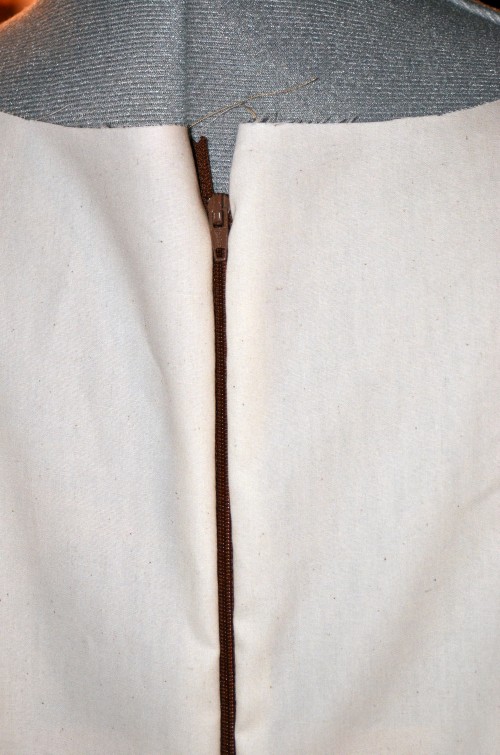
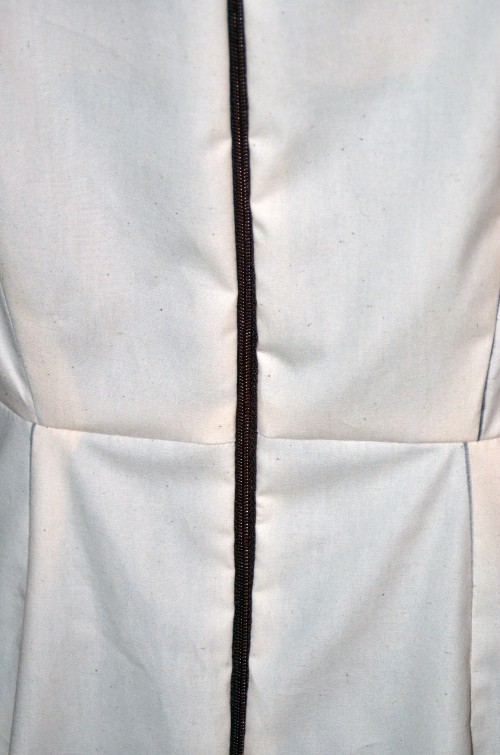
The one addition I made to my muslin process this time was to add a zipper. Thanks for the recommendation Sarah! It really helped me to see how everything would lay and made it a lot easier to put on the dress form. The one thing that was frustrating about putting the zipper in, is that I’m usually very bad at adding zippers, and this one went in perfectly. It would figure right?
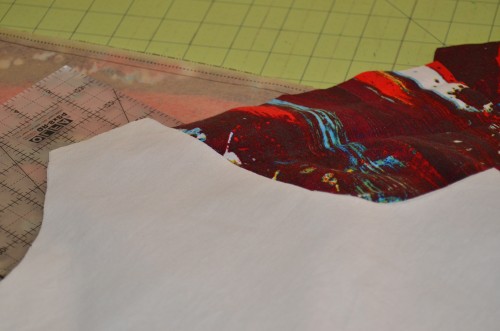
Once I got the adjustments made I wanted, I started cutting out the dress in my fashion fabric. I started with the lining, which being a batiste was easier to work with than the rayon challis for the shell.
Cutting that rayon challis was painstaking at best with all the stretch in the fabric. However, as long as I was mindful of what I was doing, it went pretty well.
Once everything was cut, the next step was to put the dress together. The process was very similar to the last dress I made, with a few additions. This one had an bodice lining, and a front accent that needed to be basted into place.
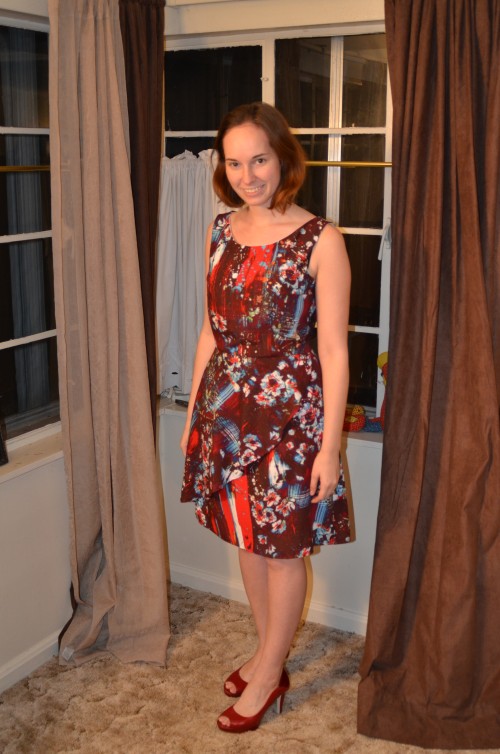
Overall, I think this dress turned out great – even if my husband did decide to call me Suzy Homemaker. I’m not so sure about that. Next thing you know, he’ll expect me to clean – when I’m obviously too busy sewing.
I absolutely love the fabric and how the dress turned out, but next time I’ll pay a bit more attention to pattern placement and not have a big red streak dead center in the front of the dress.
Linking Up at:
The Train to Crazy - Make it Wear it Thursday

Oh, that is so adorable.
Thanks for the replay on making it. Now I think I want to get that book, too, and make things for my minion.
Smashing fabric, excellent zipper work.
Two spools up! 😉
Thanks Kristen! You should definitely get this book. It is amazing.
It’s so handy to have a dress from that is your size, isn’t it? Lovely dress!
Yes, that dress form was a lifesaver.
Oh yay! That turned out so well!! Adorable.
Thanks! I’m glad you stopped by!