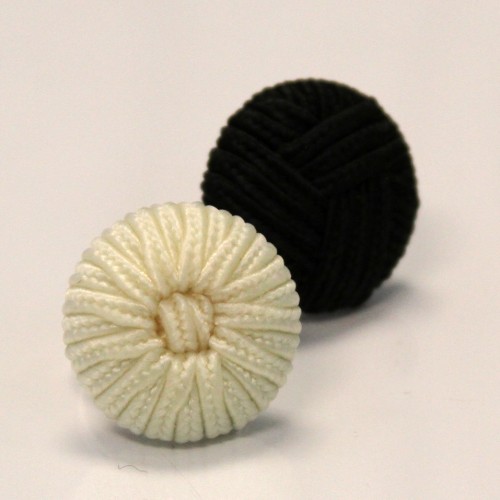
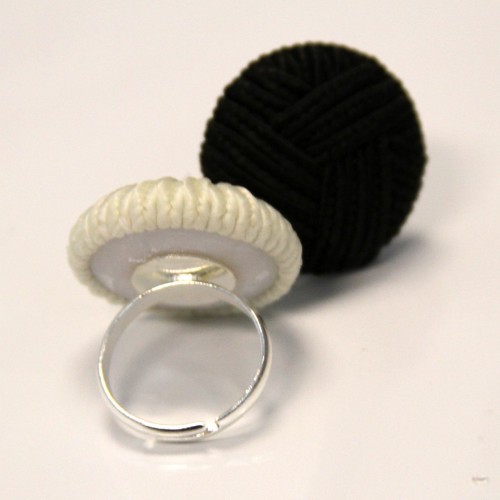
Craft Month 2011 – Day 27 – Simple Button Rings
I may have used affiliate links for some of the items in this post. Using an affiliate link to purchase an item won't cost you any more money, but I may receive payment if you click on a link and make a purchase. For more information, visit the disclosures page.
Today’s craft project is nice and simple. The hardest part of this project for me was the waiting….
You will need:
- 1 ring blank
- 1 button (with smooth back)
- Jewelry glue of your choice (E6000, etc.)
Instructions:
- Take your button and verify that it has a flat/smooth back. If it is a shank style button, you will need to remove the shank, which can easily be done with a pair of wire cutters.
- Place a small amount of Jewelry glue on the ring blank and ahere to the back of the button.
- Let dry overnight.
- If your button has fabric on it, give it a nice coat of mod podge to seal.
- Wear your nice new ring out.


I am visiting to say thank you for commenting on my blog! I also wanted to let you know your blog is adorable–I love the theme and the layout, so original! Well done all around and especially on these great rings!
Thanks so much for stopping by!