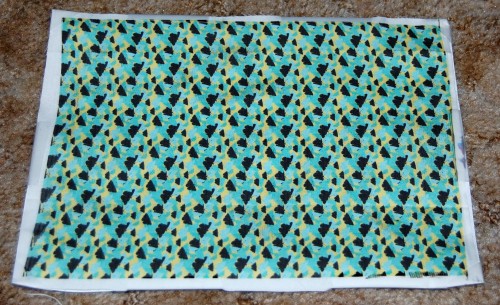
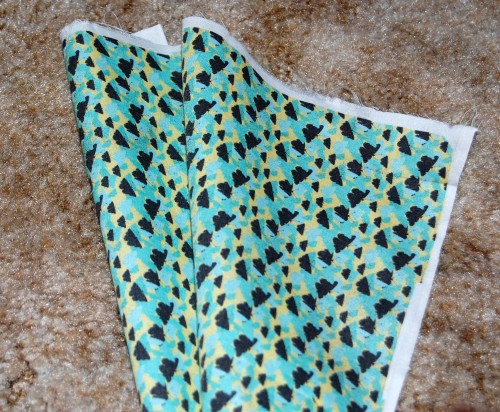
Craft Month 2011 – Day 22 – Printing Custom Fabric
I may have used affiliate links for some of the items in this post. Using an affiliate link to purchase an item won't cost you any more money, but I may receive payment if you click on a link and make a purchase. For more information, visit the disclosures page.
I found a great place online that allows you to print your own custom fabric. You can check it out for yourself at www.spoonflower.com but… if $18-$32/yard isn’t in your budget, you can make your own. Now, I have only tried this for small sizes, no larger than 8×10.5inches.
To print my fabric, I create the design I want digitally. You could do anything you want, use photos, or digital art, it’s up to you. Then, I take my fabric, preferally a white cotton, and tape it to a sheet of printer paper.
Then I simply load the sheet in my inkjet printer, and print the design directly to the fabric. I heat seal my fabric with a hot iron, making sure to iron the back side first. Then, just to be safe, I like to spray the printed side of my fabric with the matte mod podge acrylic sealing spray.
Once the sealer is dry, I cut out whatever shapes I need for my project.


This one is probably my favorite post.
I do this a lot for my smaller projects. I’m thinking about using the embroidery I did for a coffee cup insulator. If I do, I will definitely print my own fabric for the back.
This is just what I was looking for. I also use freezer paper. Iron fabric on to be stiff enough for the printer. fun stuff and original!
Thanks for your comment, Sharon! I will have to try this with the freezer paper some time.