Cotton and Metal
I may have used affiliate links for some of the items in this post. Using an affiliate link to purchase an item won't cost you any more money, but I may receive payment if you click on a link and make a purchase. For more information, visit the disclosures page.
Over the last few weeks, the weather has been pretty nice most of the time, so I’ve not spent a lot of time inside the house crafting. If it was a sunny 82 degrees at your house, you wouldn’t either. But don’t worry, I have been working on a couple of projects.
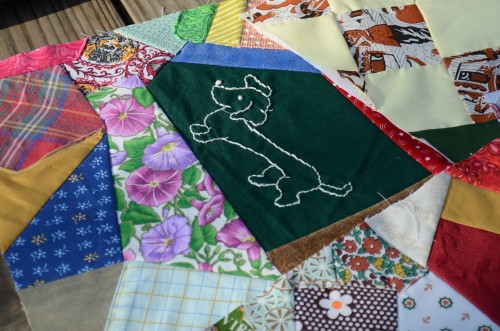
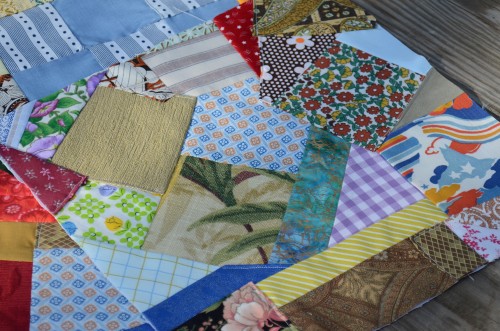
I’ve done a few more crazy quilt blocks since my last post about that project. I’ve got a total of 10 done. That means I’m almost halfway done with those blocks. My goal is to have 2 dozen of them and set them in a dark grey background.
I also finally got around to another craft project I’ve been working on for ages. I was inspired by an iHeart Organizing project I originally found on Pinterest.

Source: iheartorganizing.blogspot.com via Andrea on Pinterest
The project called for a decorate radiator cover… which my local Do It Best and Menard’s simply refer to as punched metal. I had purchased myself a piece of the metal a few months ago, when I originally found the project, but I just hadn’t found the right frame – at least not for a price I wanted to pay.
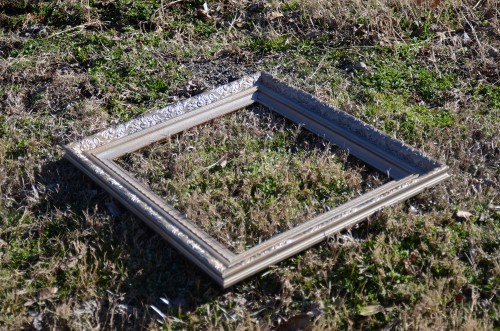
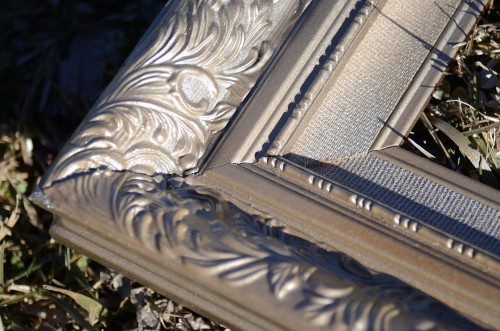
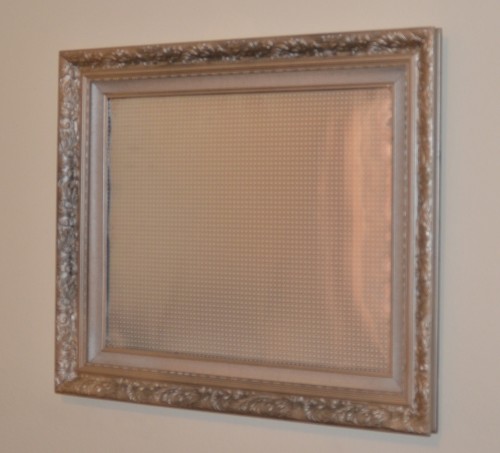
I finally found myself a frame a couple weeks ago for $5.00 at my local Good Will. It was a very pretty wood frame, with two varnishes and some cloth detailing. It was pretty as is was, but it had some damage, so I spray painted it anyway. For the purpose of the project I used a light coat of metallic paint. I love the finished look because you can still see the variation in the tones. I was actually thinking about purchasing some brass sheets from somewhere like – www.aluminiumwarehouse.co.uk, to use for my project instead. As you can guarantee that this sort of metal always looks good and pristine on any object. But I just wanted to use paint and go for something different to mix it up. And I think in this instance, I have made a good decision.
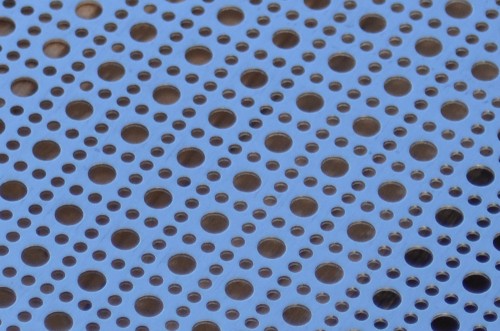
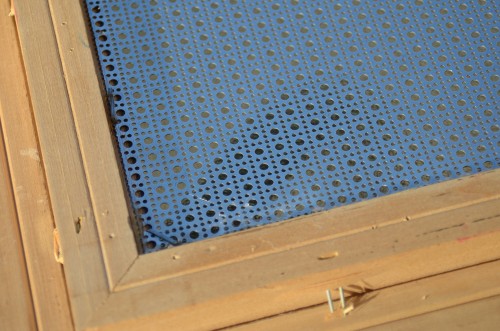
Now my metal piece was also different from the one in my inspiration project. There were lots of options for the metal, but I didn’t want anything too fancy. I got myself a nice utilitarian dot pattern instead.
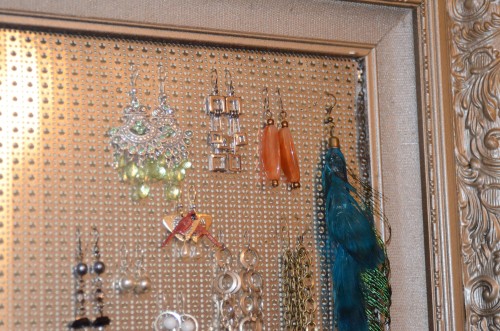
I also adhered mine a little differently than Jen over at iHeart Organizing. She cut her sheet up and attached it with packing tape to the back of a mat, but with mine I decided I wanted something a bit more stable. I used a staple gun and some E-6000 for good measure. I did have to wait for the E-6000 to dry, but it was worth it, because I don’t have to worry about my metal sheet coming loose and falling out from the weight of the earrings.
I think it turned out pretty well. What do you think? Have you worked on any craft projects lately?

What a great idea! I just use a piece of tulle in an embroidery hoop for my earrings but this is so much better, and prettier!
I’m super excited about it. I just wish that we had better light in our bedroom, so that you could see the actual color. I love the silver against the pale gold. Plus it’s nice to have such a neutral background for the earrings. I might add some hooks to the bottom for my favorite necklaces.
Very nice!
Looks good! Save some of the spray paint, we still have to paint the washers for the other project in my workshop.
Question….what is a pingback?
A pingback is a direct link back to a specific blog post from another page.
Also, there’s plenty of paint left.
Thanks for visiting my blog last week! I LOVE your DIY earring display! So pretty! I pin so many things on Pinterest and never do any of them…..ugh! That needs to change! 😉 Good for you for crossing it off of your crafty to-do list! 🙂
Thanks for visiting my blog last week! I LOVE your DIY earring display! So pretty! I pin so many things on Pinterest and never do any of them…..ugh! That needs to change! Good for you for crossing it off of your crafty to-do list!