Crazy Quilt Tutorial
I may have used affiliate links for some of the items in this post. Using an affiliate link to purchase an item won't cost you any more money, but I may receive payment if you click on a link and make a purchase. For more information, visit the disclosures page.
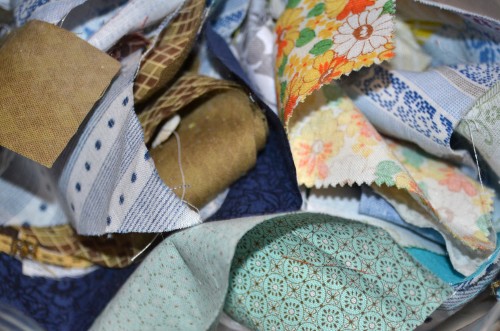
If you’re like me, you keep the scraps from all of your finished projects, hoping that you will find a use for them later. Actually — I take that back — if you’re like me, you’ll collect everyone’s scraps in hopes of using them later. I have a lot of scraps at my house – pieces of fabric from complete and incomplete projects alike, as well as scraps of sample fabric from the local home improvement store.
Since I really needed to use of some of these scraps, and I had such a variety – I thought a crazy quilt would be perfect. I ended up figuring out how to do this on my own, and have had several people ask me about my process – so here it is.
You Will Need –
- Backing Fabric (in white cotton or muslin) – this fabric will need to be cut to the 1/2-inch larger than you would like your finished square (a 6-inch block should be cut to 6.5 inches, a 12-inch block should be cut to 12.5 inches, etc.)
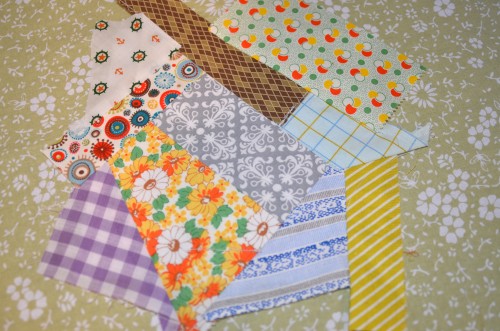
- Scrap fabric – the amount of fabric you need will depend on the size of your fabric scraps and the size you would like your finished blocks
- Sewing Machine
- White bobbin & Thread
- Scissors
- Rotary Cutter
- Iron
- Straight Pins
- Ruler or Template (for your block size)
How To Do It –
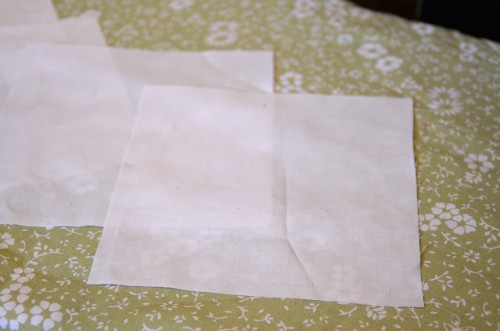
1. Start by ironing your backing fabric.
2. Once it’s good and wrinkle-free, use your template or ruler and rotary cutter to cut your backing fabric to the size of your block + 1/2-inch. I use a clear plastic template.
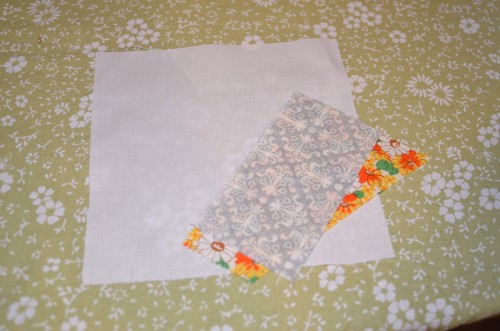
3. Now pick out 2 pieces of scrap fabric which have an edge of the same length.
4. Iron them really well and place them right sides together with the matching edges lined up.
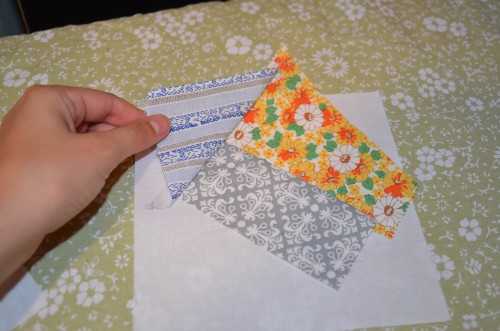
5. Lay your fabric pieces on top of your backing fabric with the side you would like to stitch together in approximately the middle of the backing block.
6. Pin down, if you would like. — I have no patience, so I only pin when I NEED corners to meet.
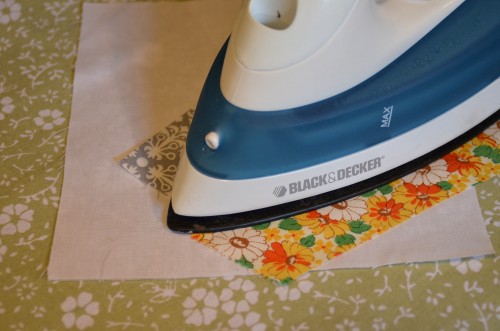
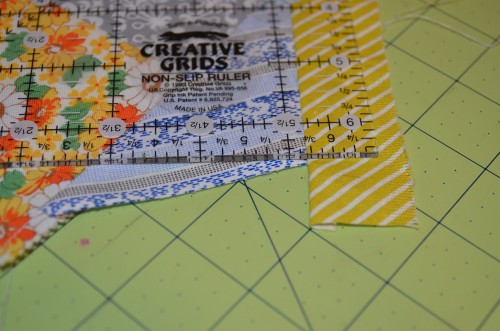
7. Sew your fabric together with a 1/4-inch seam. — Using a back-stitch at the beginning and end of the seam will make it hold better.
8. Trim any excess thread, open your fabric along the seam and iron it flat. — You now have two pieces of fabric attached to your backing.
9. Find a new piece of scrap fabric that will match the length of one of the scraps edges.
10. Iron it flat. — I do a lot of ironing with my crazy quilt… but I also keep all my scraps wadded up in bags.
11. Place your fabric right side down along an edge of a piece of fabric already attached to the backing.
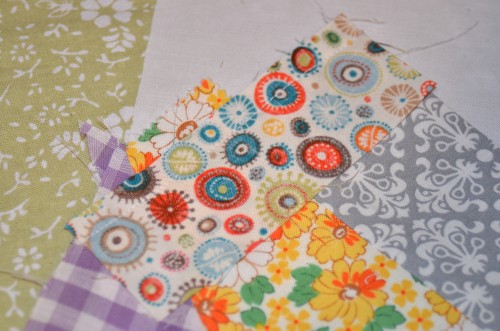
12. Repeat steps 6-13 until you have completely covered your backing fabric. Extra fabric off the edges is fine.
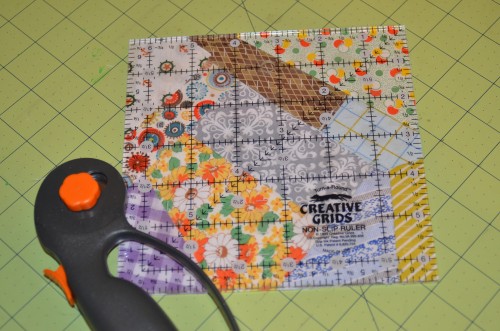
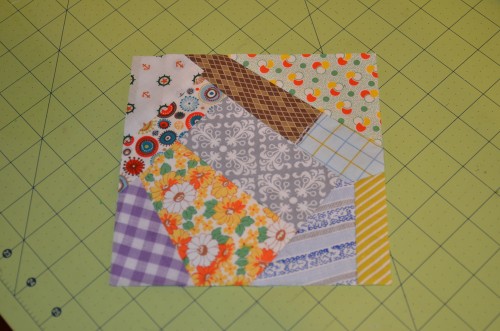
13. Take your covered block and place it under your template again. Use your rotary cutter to remove any excess fabric. from around the edges.
Tricky Spots –
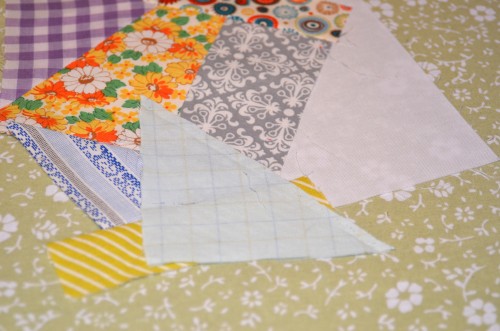
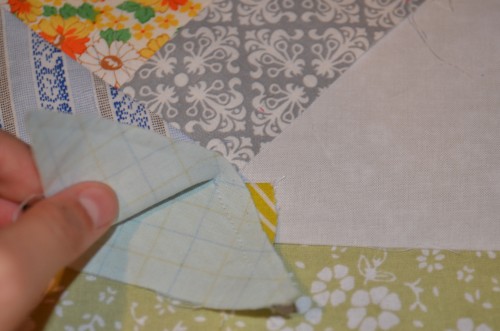
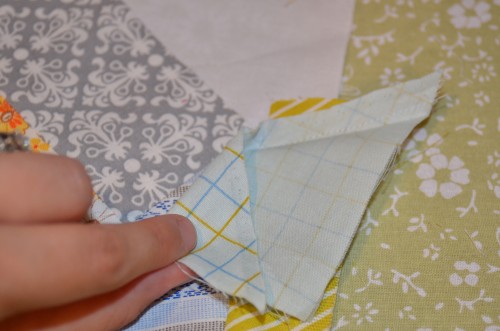
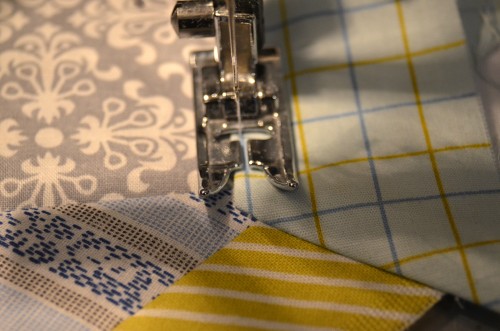
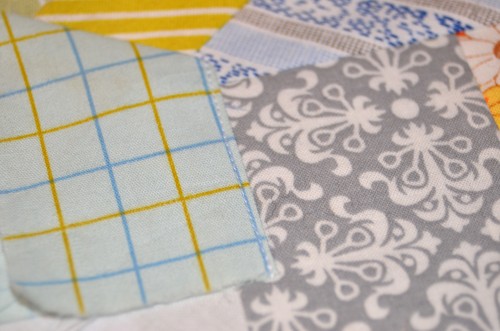
Sometimes when adding fabric to your block, you will have a scrap the needs to meet more than one edge. When this happens, overlap the fabric 1/2-inch over what will be your second seam. Leave 1/4-inch or so of the first seam unstitched. Fold the extra fabric over before you iron open. Then stitch right along the edge. — Don’t forget to back-stitch.
I hope you found this helpful and if you use this tutorial – I’d love to see what you make!
This post is linked up at:
Saturday Seven at Positively Splendid
Hope Studios
To Do Tuesday at The Blackberry Vine
Getting Krafty With It at Krafty Kat

I just love your crazy quilting! So fun! Thanks for sharing this week at Gettin’ Krafty With It!
Thanks! You can see my finished quilt top – albeit in bad lighting here: http://mouseinmypocket.com/2012/06/crazy-about-this-top/
oh its beautiful! I love your frbaic choices. Just a teeny bit of advice, tho! Coming from someone who recently ripped all the FMQ stitches out of a baby quilt, practice on a scrap sandwich first before jumping into your amazing quilt! You may have done this already, but I just went for it and the results were ok at best. I couldn’t leave it because some spots were just BAD. Taking the stitches out was a royal pain! I wish you the very best of luck and will check back to see how it went 😀
I ended up sending this out to be quilted. Cara of http://www.caraquilts.com has it right now, along with 2 of my other quilt tops. I decided I’d be better off to let a professional handle all the hard work.
Thank you so much for a clear, easy to follow explanation of your techniques!! I’ve been online all morning looking for a simple tutorial and feeling very confused by many of the “tutorials” I’ve seen. This one made sense! You’re right, unpressed crazy patch looks just awful, so pressing as you go is vital.Thanks again!
You are very welcome! I am so glad that my tutorial was helpful to you.