
#DYOSampler Quilt Along: Designing the Layout
I may have used affiliate links for some of the items in this post. Using an affiliate link to purchase an item won't cost you any more money, but I may receive payment if you click on a link and make a purchase. For more information, visit the disclosures page.
You may remember that I mentioned in my Quilting Bucket List, that I really wanted to make the Gypsy Wife quilt…. It’s something that I’d still love to do, but SewMamaSew recently announced the #DYOSampler quilt along (and also a medallion quilt along, if that’s more your style), and I thought it would be a perfect project for me.

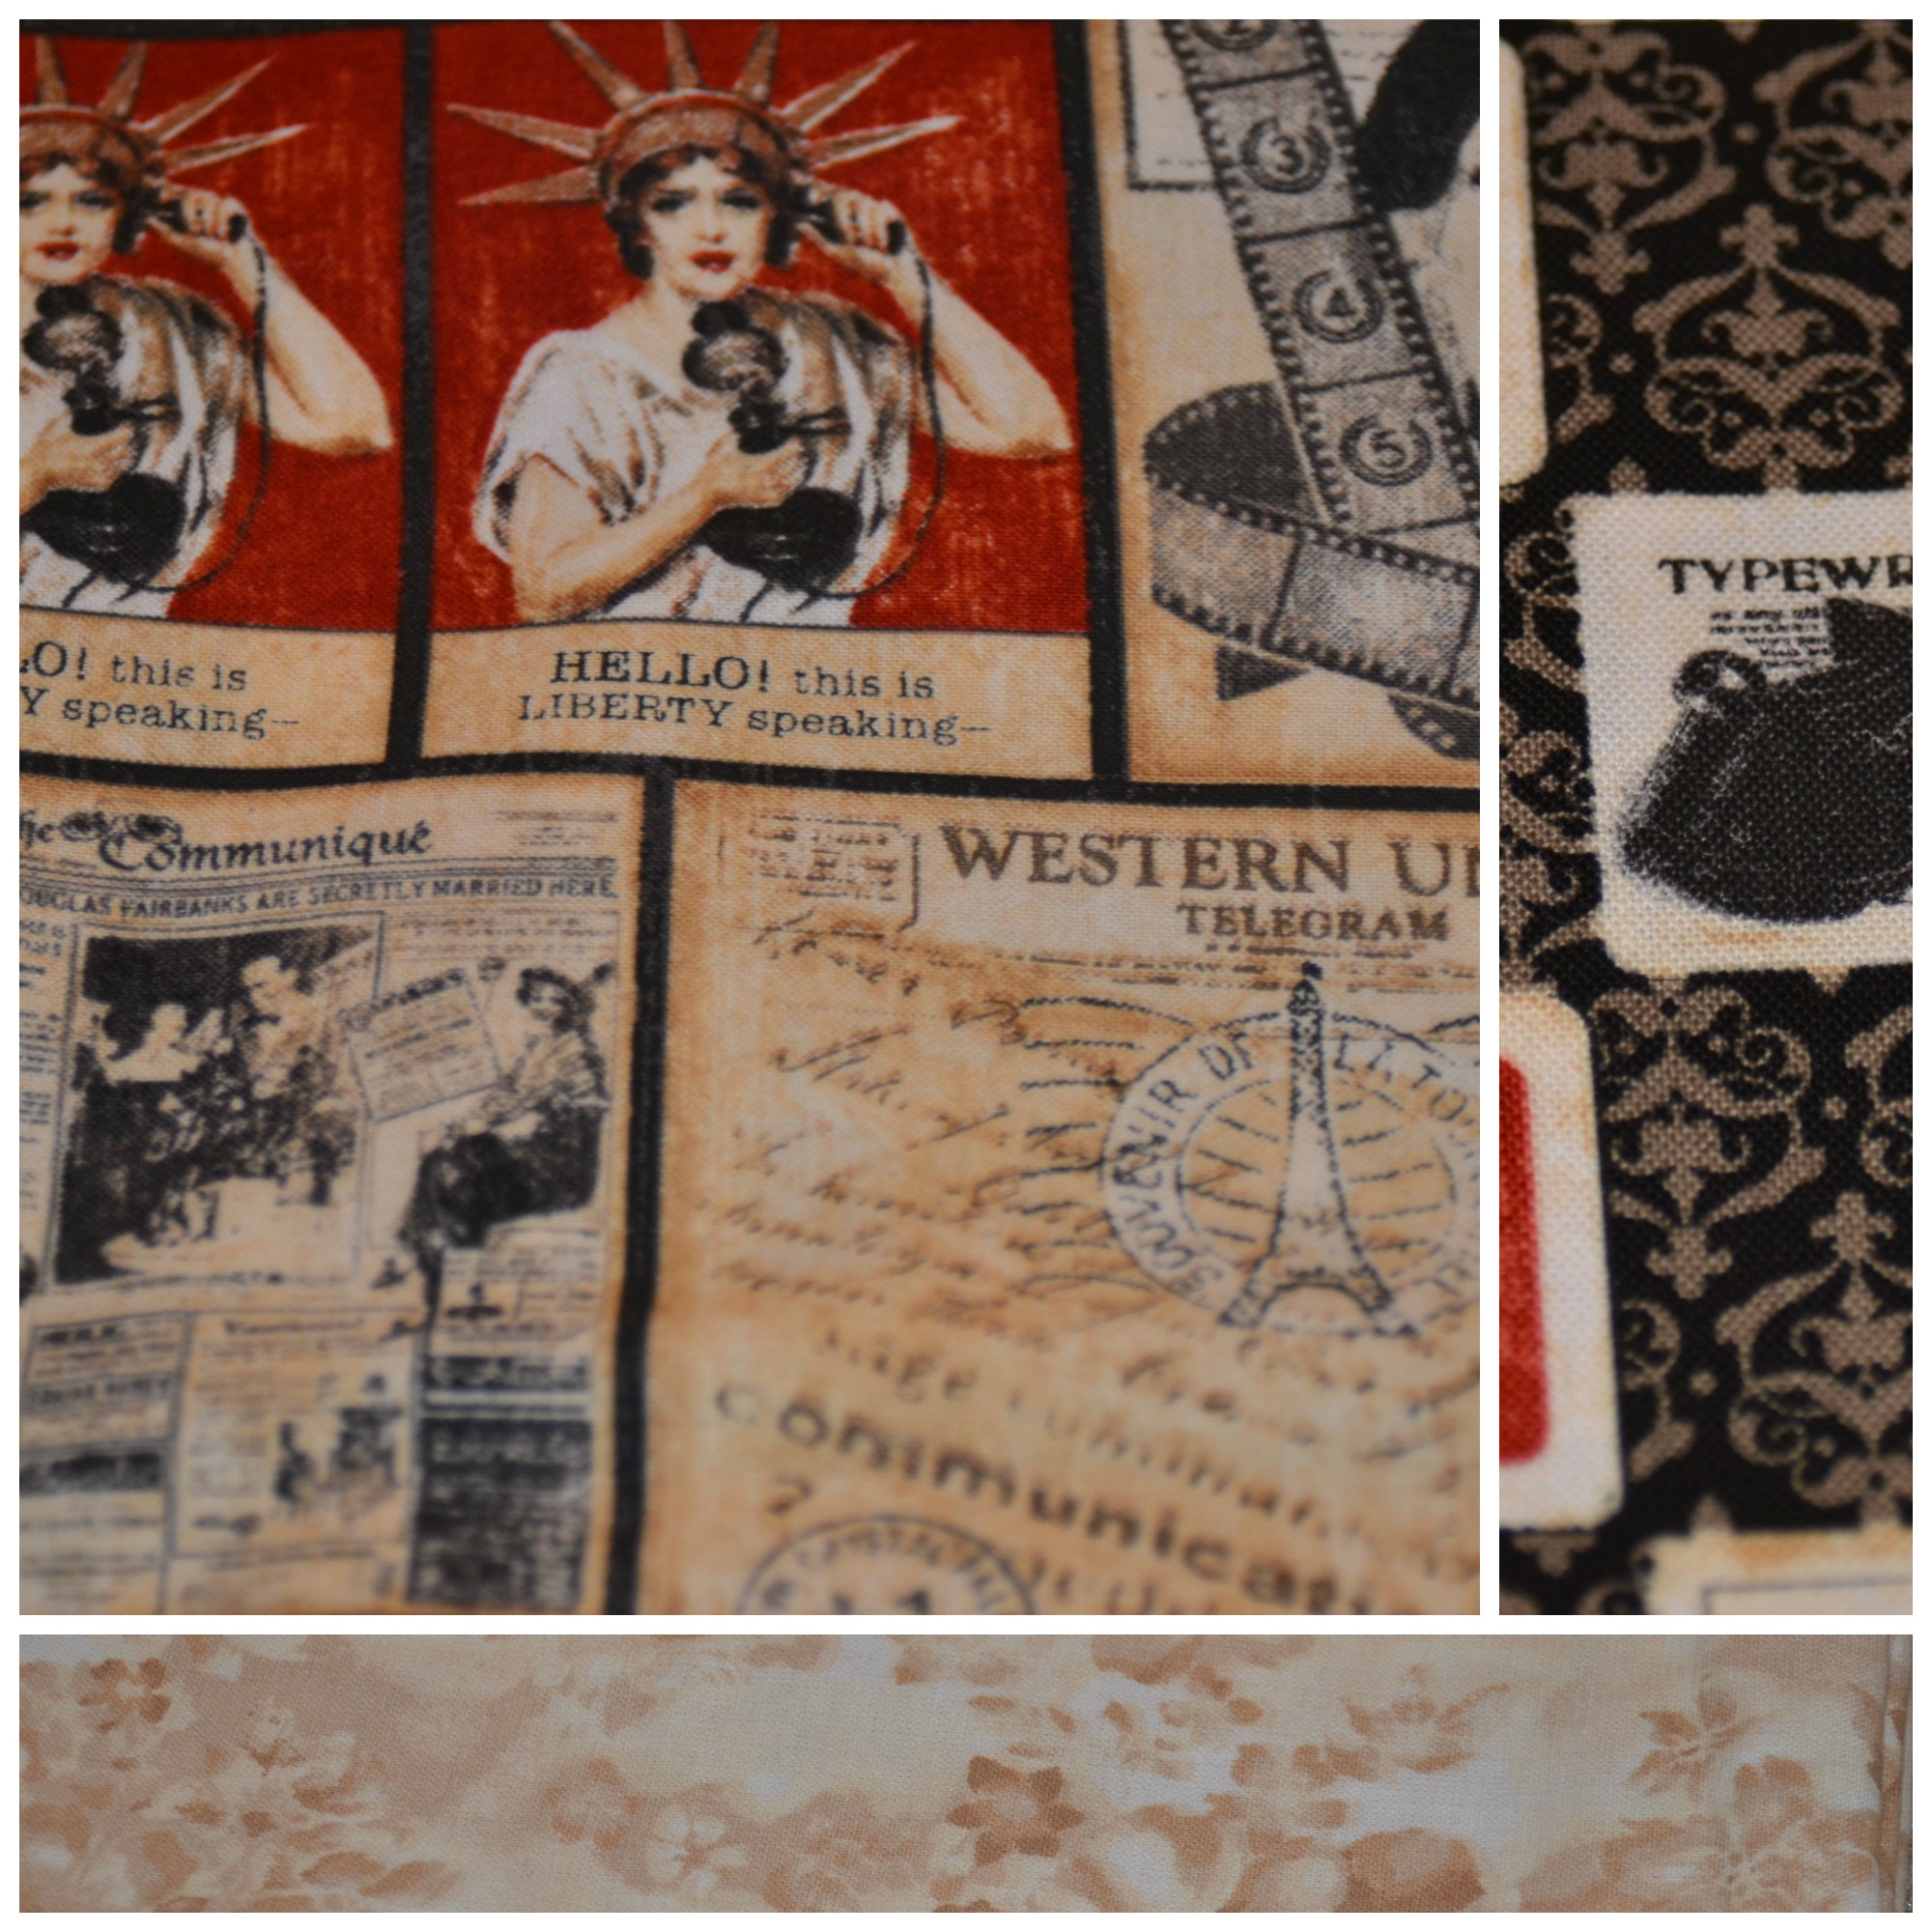
I’m planning to do the sampler in red, black, and tan, using my Communique fabric as a starting point.
But the first thing I needed to do for this quilt along was to design my own pattern. So, I got my graph paper out and sketched up a layout for my blocks. If you’re doing this quilt too, and you need a few tips on making your design there’s a great tutorial on the SewMamaSew Blog.
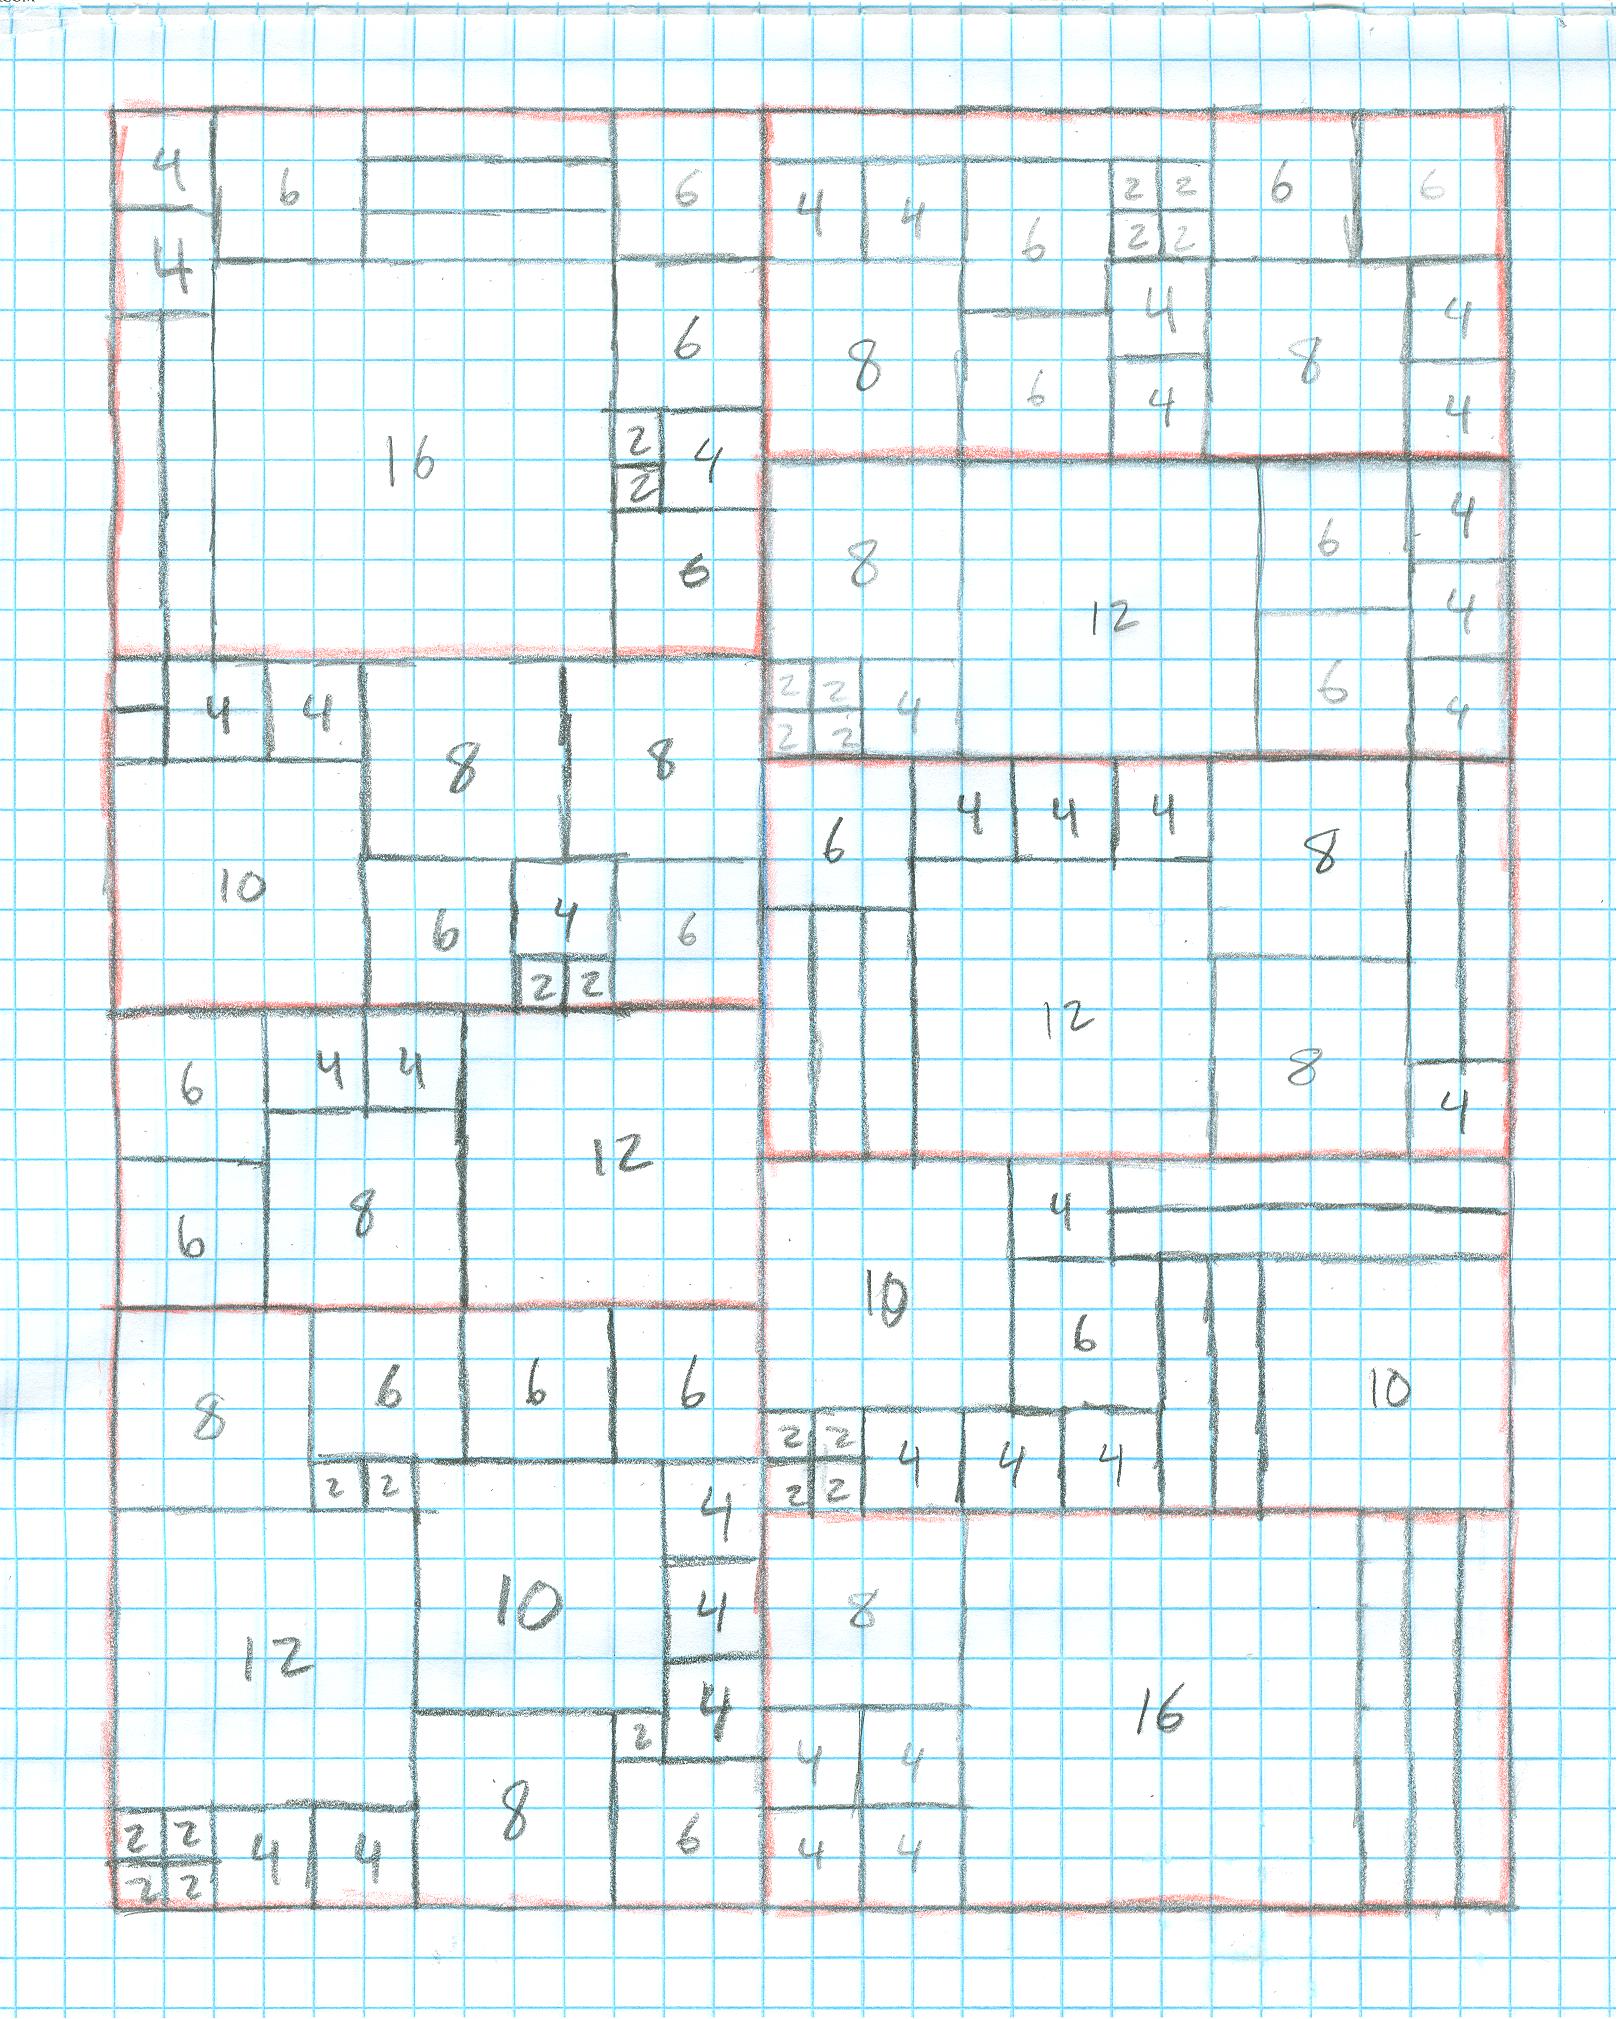 **Layout does NOT include seam allowances**
Just like in the tutorial, I started out by drawing in some blocks in random places and sizes. I then, divided up the quilt into piece-able sections based on those squares (you’ll see those areas marked in red) and filled them in with more blocks. I’m pretty happy with this layout, though I will have to do some partial block piecing because of how some of my blocks come together. I can add that as another learning experience from this process.
Update: Using this Layout
I’ve had several requests to use this layout in the design for a quilt. Please feel free to use the layout, and I’d love to see your projects!
You can download the layout here: http://mouseinmypocket.com/2018/01/an-updated-quilt-layout/
Sharing over at:
Take a Look Tuesday at Sugar Bee Crafts
[…] Mouse in My Pocket and Barbe Price each receive a set of three books from C&T Publishing/Stash Books: Playful […]
What a great idea for a quilt! I never would have thought of this technique. Thanks for sharing!
You’re welcome Jyl! I hope you find it useful.
We math teachers LOVE graph paper plans.
I have 300 prints ready to get started. I was originally reworking the gypsy wife to make a “calendar quilt”. I can visualize this plan a little easier. I have used a similar method for t shirt quilts.
I’m glad it helped. I’d love to see your project when you get it done!
Dont forget to add seam allowances to your block sizes…this can be a frustrating quilt to put together without them ?
Thanks for the tip Meg. I always add half an inch to my measurements when I create designs like this. I just never expected anyone else to use my layout for their own quilt.
Finished Empire Falls last night…has a weird ending, so just wanted to warn you! Still enjoyed most of the book…just couldn’t get why it ended that way???
I’d like to use your graph pattern to make a quilt, would it be possible to gain your permission?
Please go right ahead, just take into consideration that I design with finished sizes, so you’ll want to add half an inch to each of the blocks when you are making your plan. (i.e. – if a block is marked 8″ that’s the finished size, so the block you piece should be 8.5″)
Oh, and please send me a photo of the finished quilt!
Thanks and yes, got it about the seam allowances 🙂
Will def send pics when I’m finished 🙂
Good morning Andrea! I want to send you a pic of the almost finished quilt made from an adaptation of your graph paper pattern. Not sure how to send the pic…
You can always email it to me at: [email protected].
This is exactly what I’ve been looking for! Thank you for sharing.
You are very welcome! You can find a nice clean version of the quilt layout here- http://mouseinmypocket.com/2018/01/an-updated-quilt-layout/, or the king-size version here: http://mouseinmypocket.com/2018/02/king-size-communique-quilt-layout/
I really like your technique and want to use it. I want to double check with you about block sizes, allowing for seams: is it 2-1/2 X 8-1/2, etc.? I didn’t see the 2-1/2 in your comment to Meg above and wonder if adding 1/2 inch to the 2″ measurement is correct. Thanks.
Yes, these are all labeled as finished block sizes, so you would add 1/2-inch to the measurement when cutting your blocks out.
Thank you for making this layout available for use. I’m new to quilting, so seeing this project broken into smaller steps is very helpful. Being able to communicate with other quilters about a project is invaluable.
Thank you again
You are very welcome. Please don’t hesitate to let me know if you have any questions. I’m always happy to help you figure anything out.
Thank you so much for this quilt layout….I have wanted to make a gypsy type quilt and this is so perfect! Thanks again, Sandra
Now that I have the quilt all cut out I read that I should have added seam allowance to each block. Cannot replace this fabric so guess I will use a lot of borders! Thank you for the layout!
I’m so sorry! I tried to make that clear on the layout. I guess I should highlight that at the top instead of the bottom.
I love this layout, might be dumb question (It’s been along time since last quilted) but what size would that Be?
The quilt should finish at 56×72-inches. Please note that I didn’t include seam allowances in the block sizes, so for each block, you’ll need an extra .5-inches so that you can sew them together.